ADVENT CALENDAR DIY[:]
My sweethearts,
I am so happy to introduce you to this DIY… Let me tell you the whole story, I love telling you stories. Last August I was all happy and everything to talk about a great place to eat Jules and Shim and a little DIY, remember? Following this post, Faith the creator of Aphinitea, supplier of the famous take away flower/boxes of the restaurant, contacts me to tell me she is delighted that I like her work but it’d be great if I could share her name and website. That I did immediately, along with taking the template of the box off of my blog because I’m saying it one more time I do not want the business of this Philippine enterprise to suffer, this is an ethic I talk about regularly around here. Email after email, I offer Faith to make a partnership: what if we make a kit to build an advent calendar together ? I’d supply colors, sizes, user instructions, stickers’ templates and Faith would be in charge of the making process. Banco. We talk about it over dozen of email and we agree on pantone colors, the whole thing in english, I was so proud of myself for making it safely in another language!
So today I’m offering you to go on Faith’s website: Aphinitea, to buy this 24 boxes kit:
- 9 little pink boxes,
- 10 medium yellow boxes,
- 5 big white boxes, for a cost of 29,50€ (shipping fees not included from the Philippines)
IMPORTANT EDIT: DHL shipping fees: 11 euros to France, Germany, Italy, Belgium, Monaco, England, Finland and Luxembourg. And 14,8 euros to the rest of the world.
Then, download the stickers (two sizes) to print on sticker sheets HERE
And rendez-vous at the next paragraph to follow the steps. And to tell you everyhting, things went perfectly well, except that on the 8th of November, the Haiyan Typhon devastated the Philippines. That’s why I’ve decided today to give up the commission I was supposed to get on these kits and to give it to the Red Cross in order to help the victims. So on top of getting a wonderful advent calendar, you’d be doing a goo deed… Je vous embrasse bien fort !
To make this DIY:
- Cost about 35 euros (glue gun not included)
- Time about 1h30, you can call your kids to help with the stickers cutting…
- Difficulty: finger in the nose…
You will need:
- the boxes kit from Aphinitea's website,
- to download the stickers and the « BE PATIENT » to trace HERE,
- sticker sheet, one bristol paper sheet and one tracing paper sheet,
- a 50 x 65 cm foam board and a colored craft paper sheet of the same dimensions,
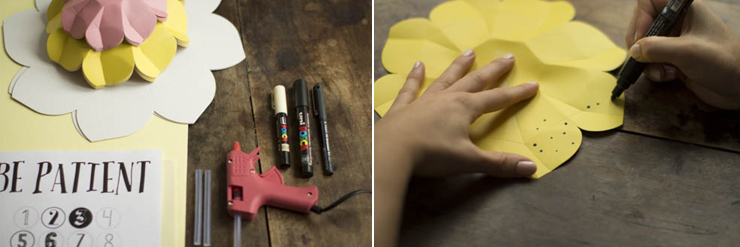
- a glue gun and a few cartridges,
- black and white Posca,
- a pair of scissors and small chocolates and other gifts to put into your 24 boxes.
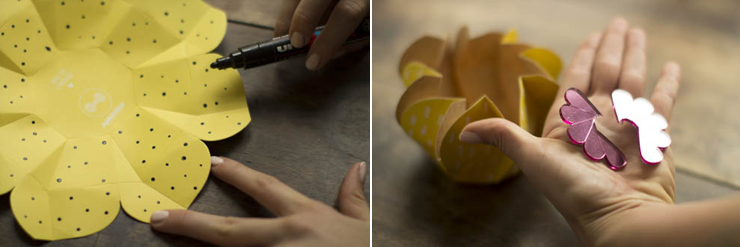
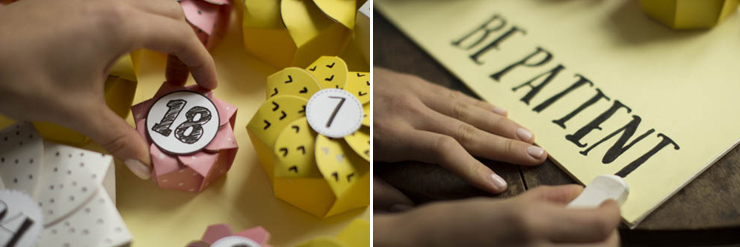
To start with, customize your boxes with the Posca, polka dots, hearts, triangles, confetti, have fun and be careful to let it dry before filling your boxes with treasures.
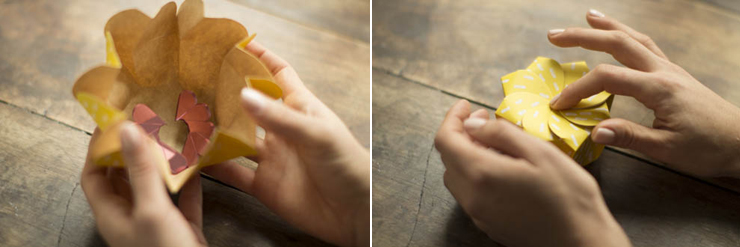
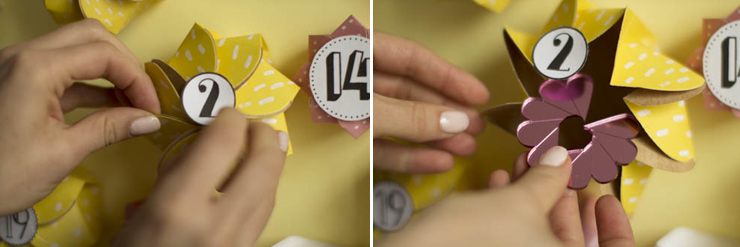
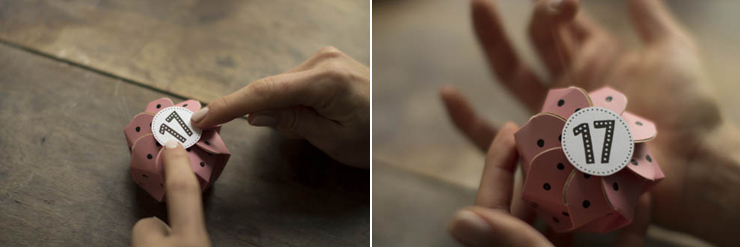
To close the boxes, it is very easy. They all are pre-formed so all the edges are marked, you only have to gather the petals toward the center and everything will be just fine.
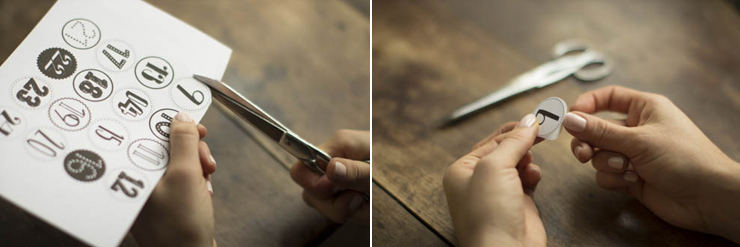
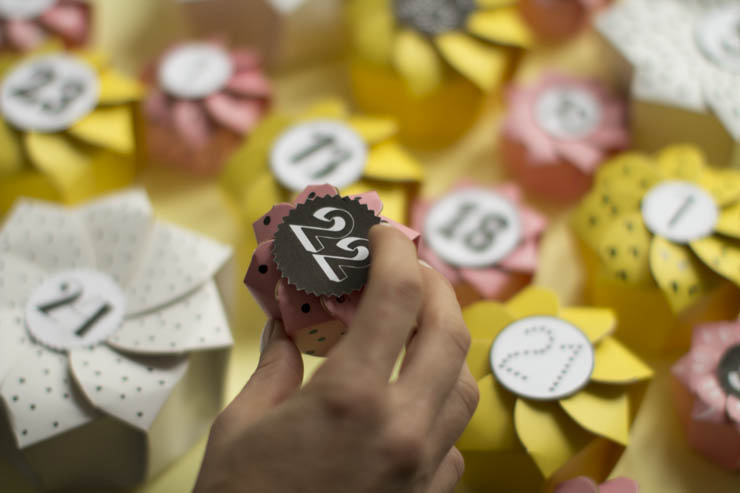
While your boxes are drying, let’s get to the stickers cutting. I’d advise to print them on bristol paper and to stick it to an A4 sticker sheet, so your stickers will be thicker and less transparent.
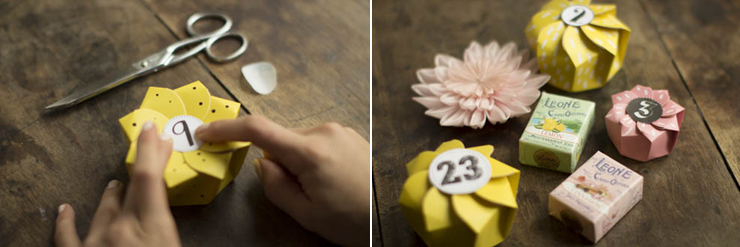
To close your boxes, remove the protection and gently put the number on top of the center of the box. But don’t forget to fill your boxes before doing that !
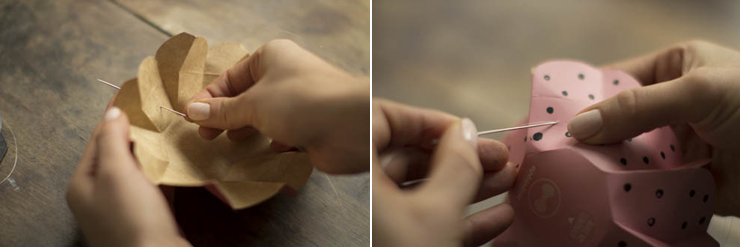
When I was making this DIY I realized it would be awesome to hang these littles boxes on your christmas tree rather than sticking them to a foam board. So if you decide to go with it, exit the #4 point of the supply list and replace it with nylon thread and a needle. Pin the needle in the box height-wise, thread the nylon into the hole once, and twice. Then make a knot or two.
Then close the box, after putting lovely things into it. Stick your number and hang it into your christmas tree.
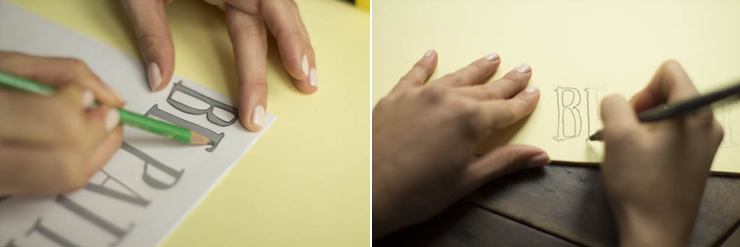
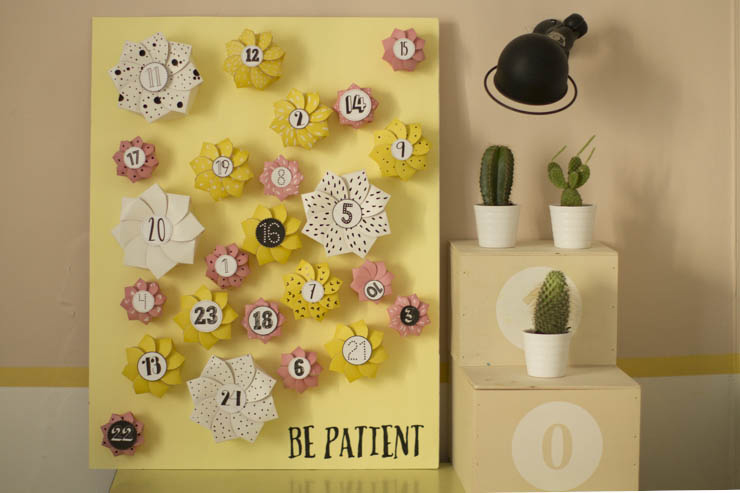
If you choose to go with the wall version, trace the « BE PATIENT » in the right bottom corner of your colored craft paper sheet that you previously sticked onto your foam board.
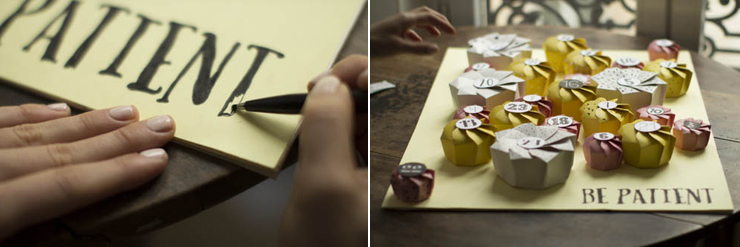
Fill the « BE PATIENT » with a thin black felt pen and leave it to dry. You can erase the possible pencil marks later. Then put your boxes on your board, try to put the different colors and sizes harmoniously and be careful not to close them up to one another otherwise you will have a hard time opening them…
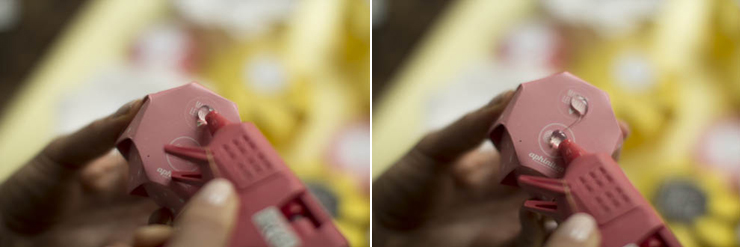
Plug the glue gun and when it’s hot, put a drop of glue on each of the make my lemonade and the Aphinitea logos (we thought about everything).
Without wasting time glue your box to you board, wherever you choose it to be. When all your boxes are glued, you can think of erasing the possible pencil marks around the « BE PATIENT ».
And TA-DA! Then, to open your boxes, you simply have to gently peel off the number and to get your present! Today, I’m presenting you an advent calendar or a christmas tree decoration but since I’m not a big fan of the red and green colors, I chose fresh colors that could be useful for other occasions such as decorating an office for instance… But also if can be a kit of boxes to wrap your presents, you are the one choosing what you want to do with them…
LOVE.