Hello my darlings!
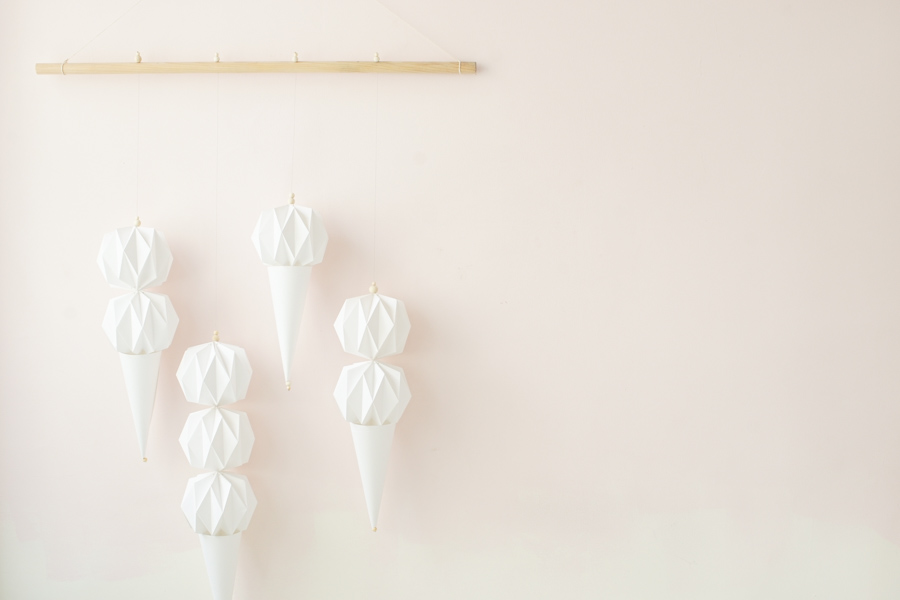
We’re kicking off the week nice n’easy with this DIY... a paper mobile that’ll keep you busy during these long, hot days! It’s a little bit tedious but the end result is so beautiful! You can use it to decorate a colorful wall or as mobile for a baby shower present if you make smaller ice cream cones...
For this week’s theme, we really went wild with decorations, you’ll see more later on! I’m sure you’ll like it! Most important of all, have fun! For this project, we wanted to make something light and airy, all white tones with wood accents, but it’s up to you to make your mobile with flashy or pastel colors and even with stickers as toppings! We can’t wait to see what you make!
Hugs and kisses, see you tomorrow with a recipe for frozen mochis... (oh yes, you read that right!)
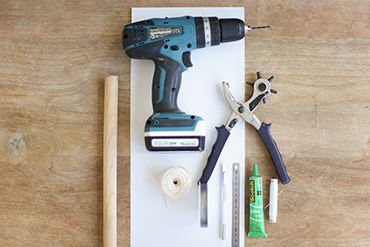
For this DIY you’ll need:
- A drill
- The folding pattern to help understand,
- A wooden rod
- String or ribbon
- Strips of white paper, 60x20cm,
- Punch pliers
- Crimping beads and hanging wire
- Wooden beads, different sizes
- Glue
- Scalpel
- Scissors
- Small ruler
- White wire and a needle
We made the paper balls thanks to
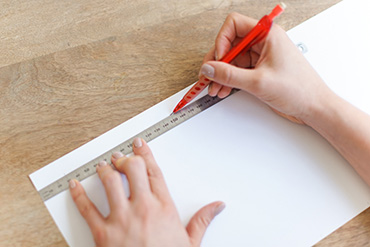
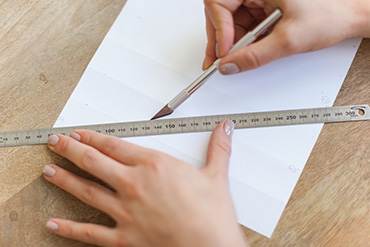
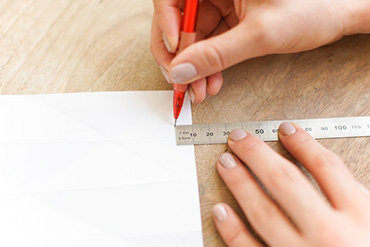
CCfaitdessiennes’s DIY. If you need more details, go ahead and check it out, it’s really good! To start, mark the top and bottom of your sheet of paper (lengthwise) every 3cm. Using the back of your scalpel, lightly trace over the marks so that folding with be easier later on. Trace 20 lines.
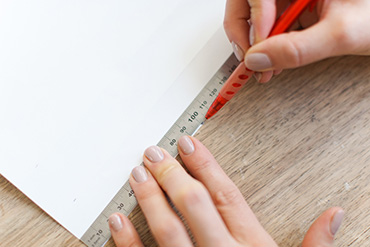
At both ends of your paper, mark a guide at 10cm. Now trace the diagonals using the scalpel. To do this, start on your guide and trace a line until the angle of the second line.
Continue doing this, connecting the angle from line 0 to the bottom of line 4. Do the same all over the paper, finishing by joining the angle of line 18 and your second mark at 10cm.
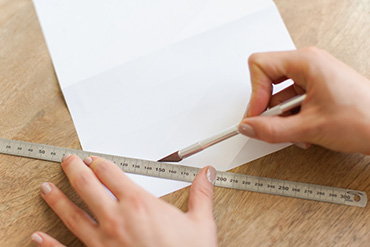
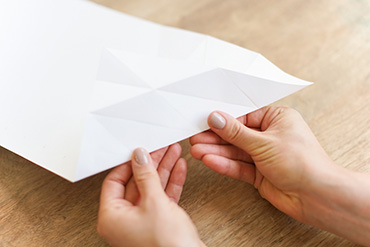
Do the same in the other direction so that the diagonals cross. Be careful to make precise marks so that the end product is neat! Turn the sheet over so that the marked side is facing the table and fold the vertical bands (be sure to have clean hands). Turn the paper around again so that the marked side is facing up and now fold the diagonals.
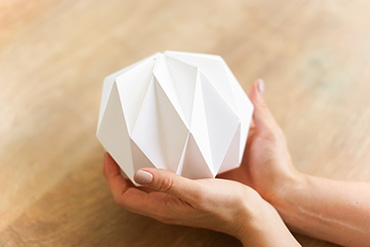
Your future scoop of ice cream should start to take a beehive shape! Use your ruler to lightly trace a line from the top to the bottom of your strip of paper, lengthwise, at 1cm.
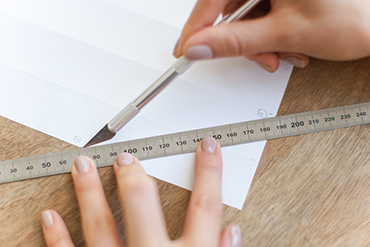
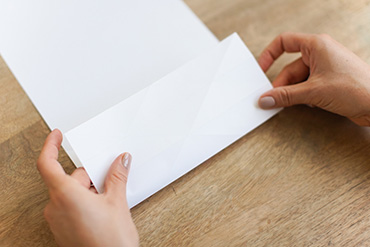
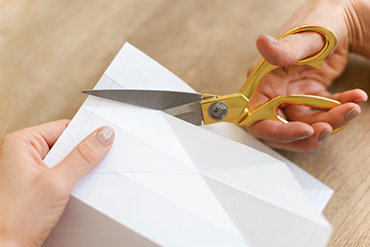
Use scissors to cut between lines 19 and 18, as shown on the pattern, following the folds! Let’s move onto the holes that will keep the ball closed. The line that you traced at 1cm will be your guide (looking at the pattern will help you understand).
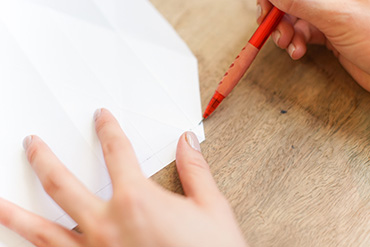
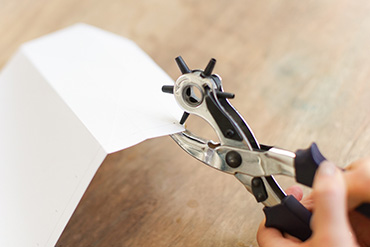
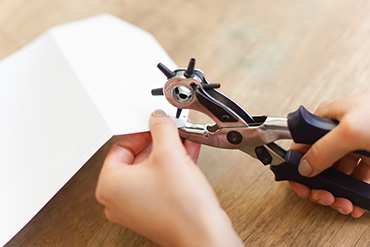
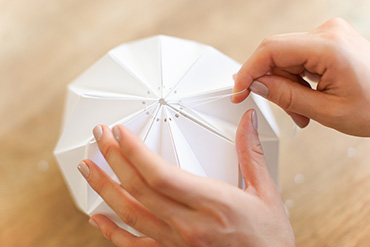
Use the smallest diameter on the punch to poke holes in the center of the two sides of the little triangle that’s formed by the folds you’ve made. Keep doing this all down the length of your paper.
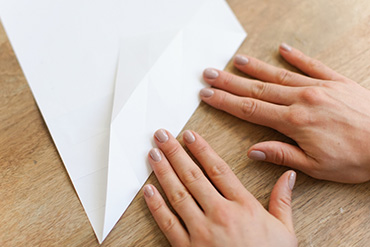
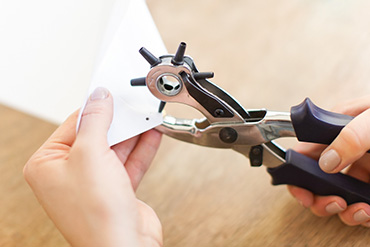
Once you’ve made your first line of holes, fold one of your diagonals and poke holes in the exact spots of your first line of holes. TADA, let’s move onto the best part: putting it together.
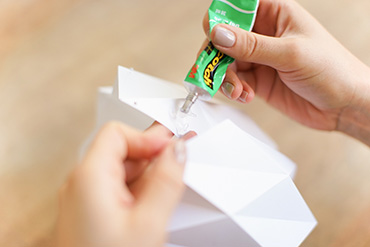
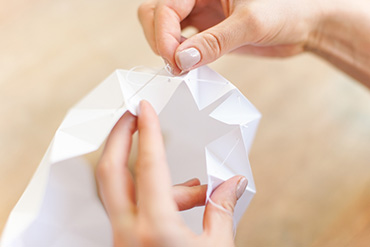
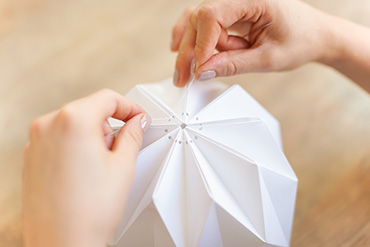
You’ll see that thanks to the folds, your ball will take form all by itself. But to help with the process, glue the two sides of one of the extremities as shown on the pattern to the other side of your strip. Using needle and thread, weave it through the holes.
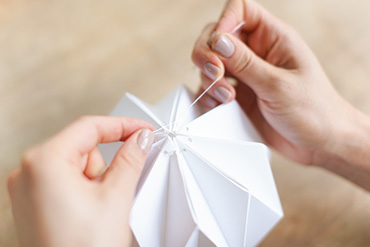
Now pull on the thread to tighten everything up and make several knots to keep the scoop of ice cream together
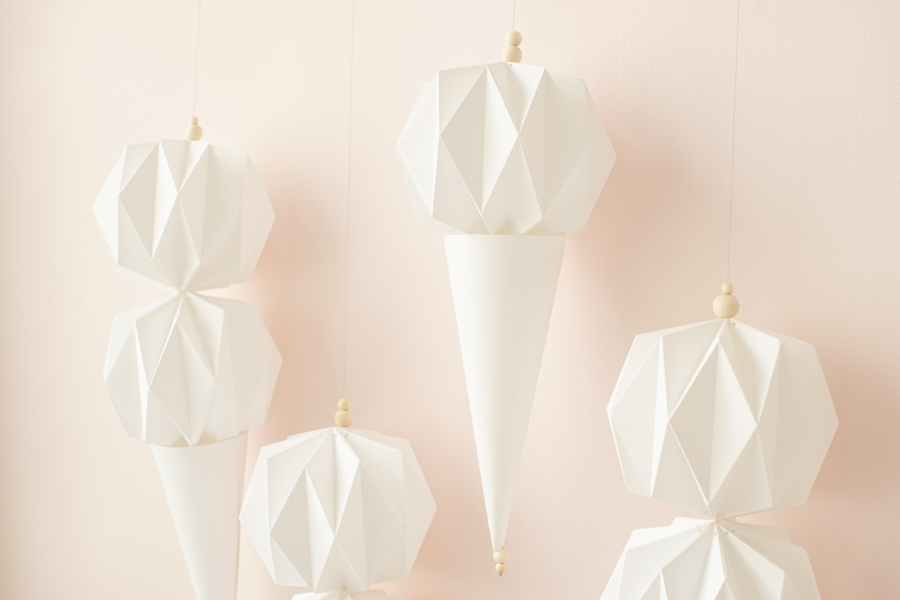
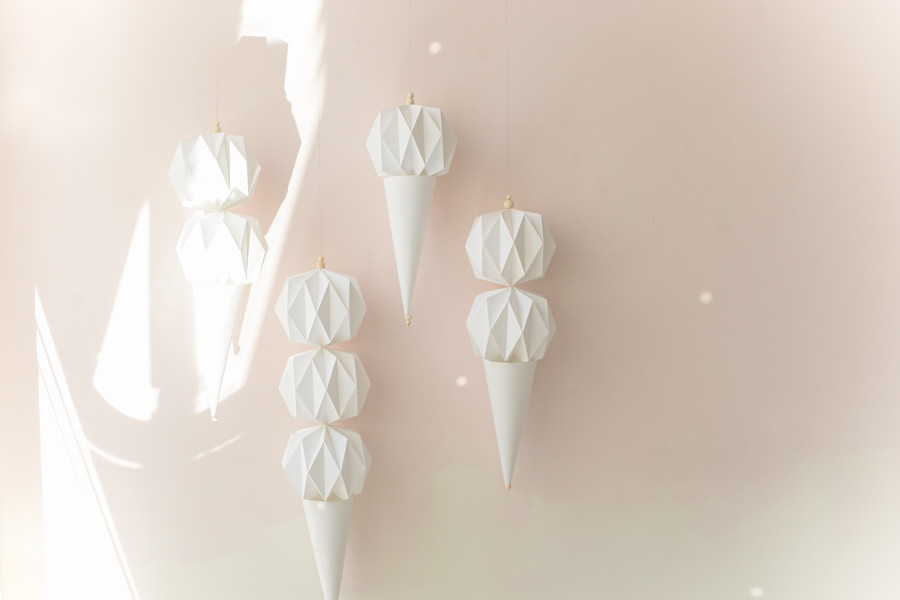
And there you have it! Repeat as many times as you want to make as many scoops of ice cream needed!
For the ice cream cone, cut out a half circle 40cm in diameter or print the pattern! Roll it around itself and glue in place.
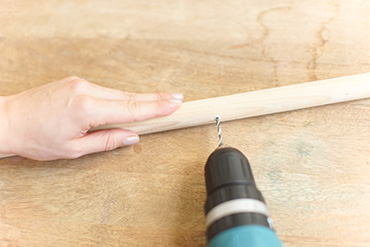
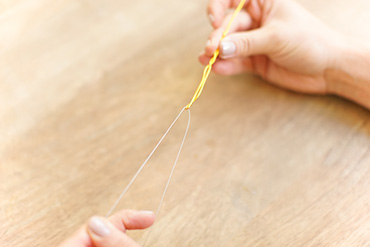
Using the drill, make 6 holes in the wooden rod! We recommend making a long needle out of wire to weave the hanging through all the pieces.
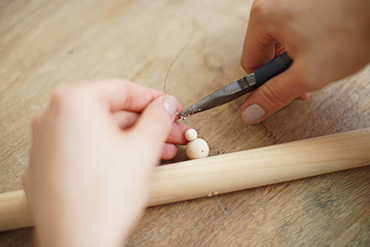
Thread the hanging wire through the cone, you can also thread a wooden bead too to nicely finish off the end of the cone. Do the same with the scoop of ice cream.
Finish it off with two wooden beads! Hold in place by threading the hanging wire and two other beads through the wooden rod and use crimping beads to hold it in place! TADA!
[:]