Hello my darlings!
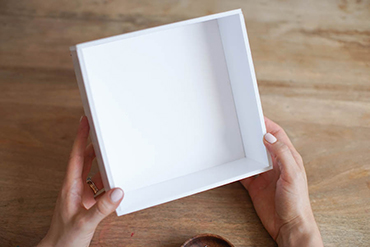
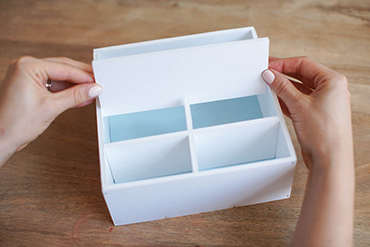
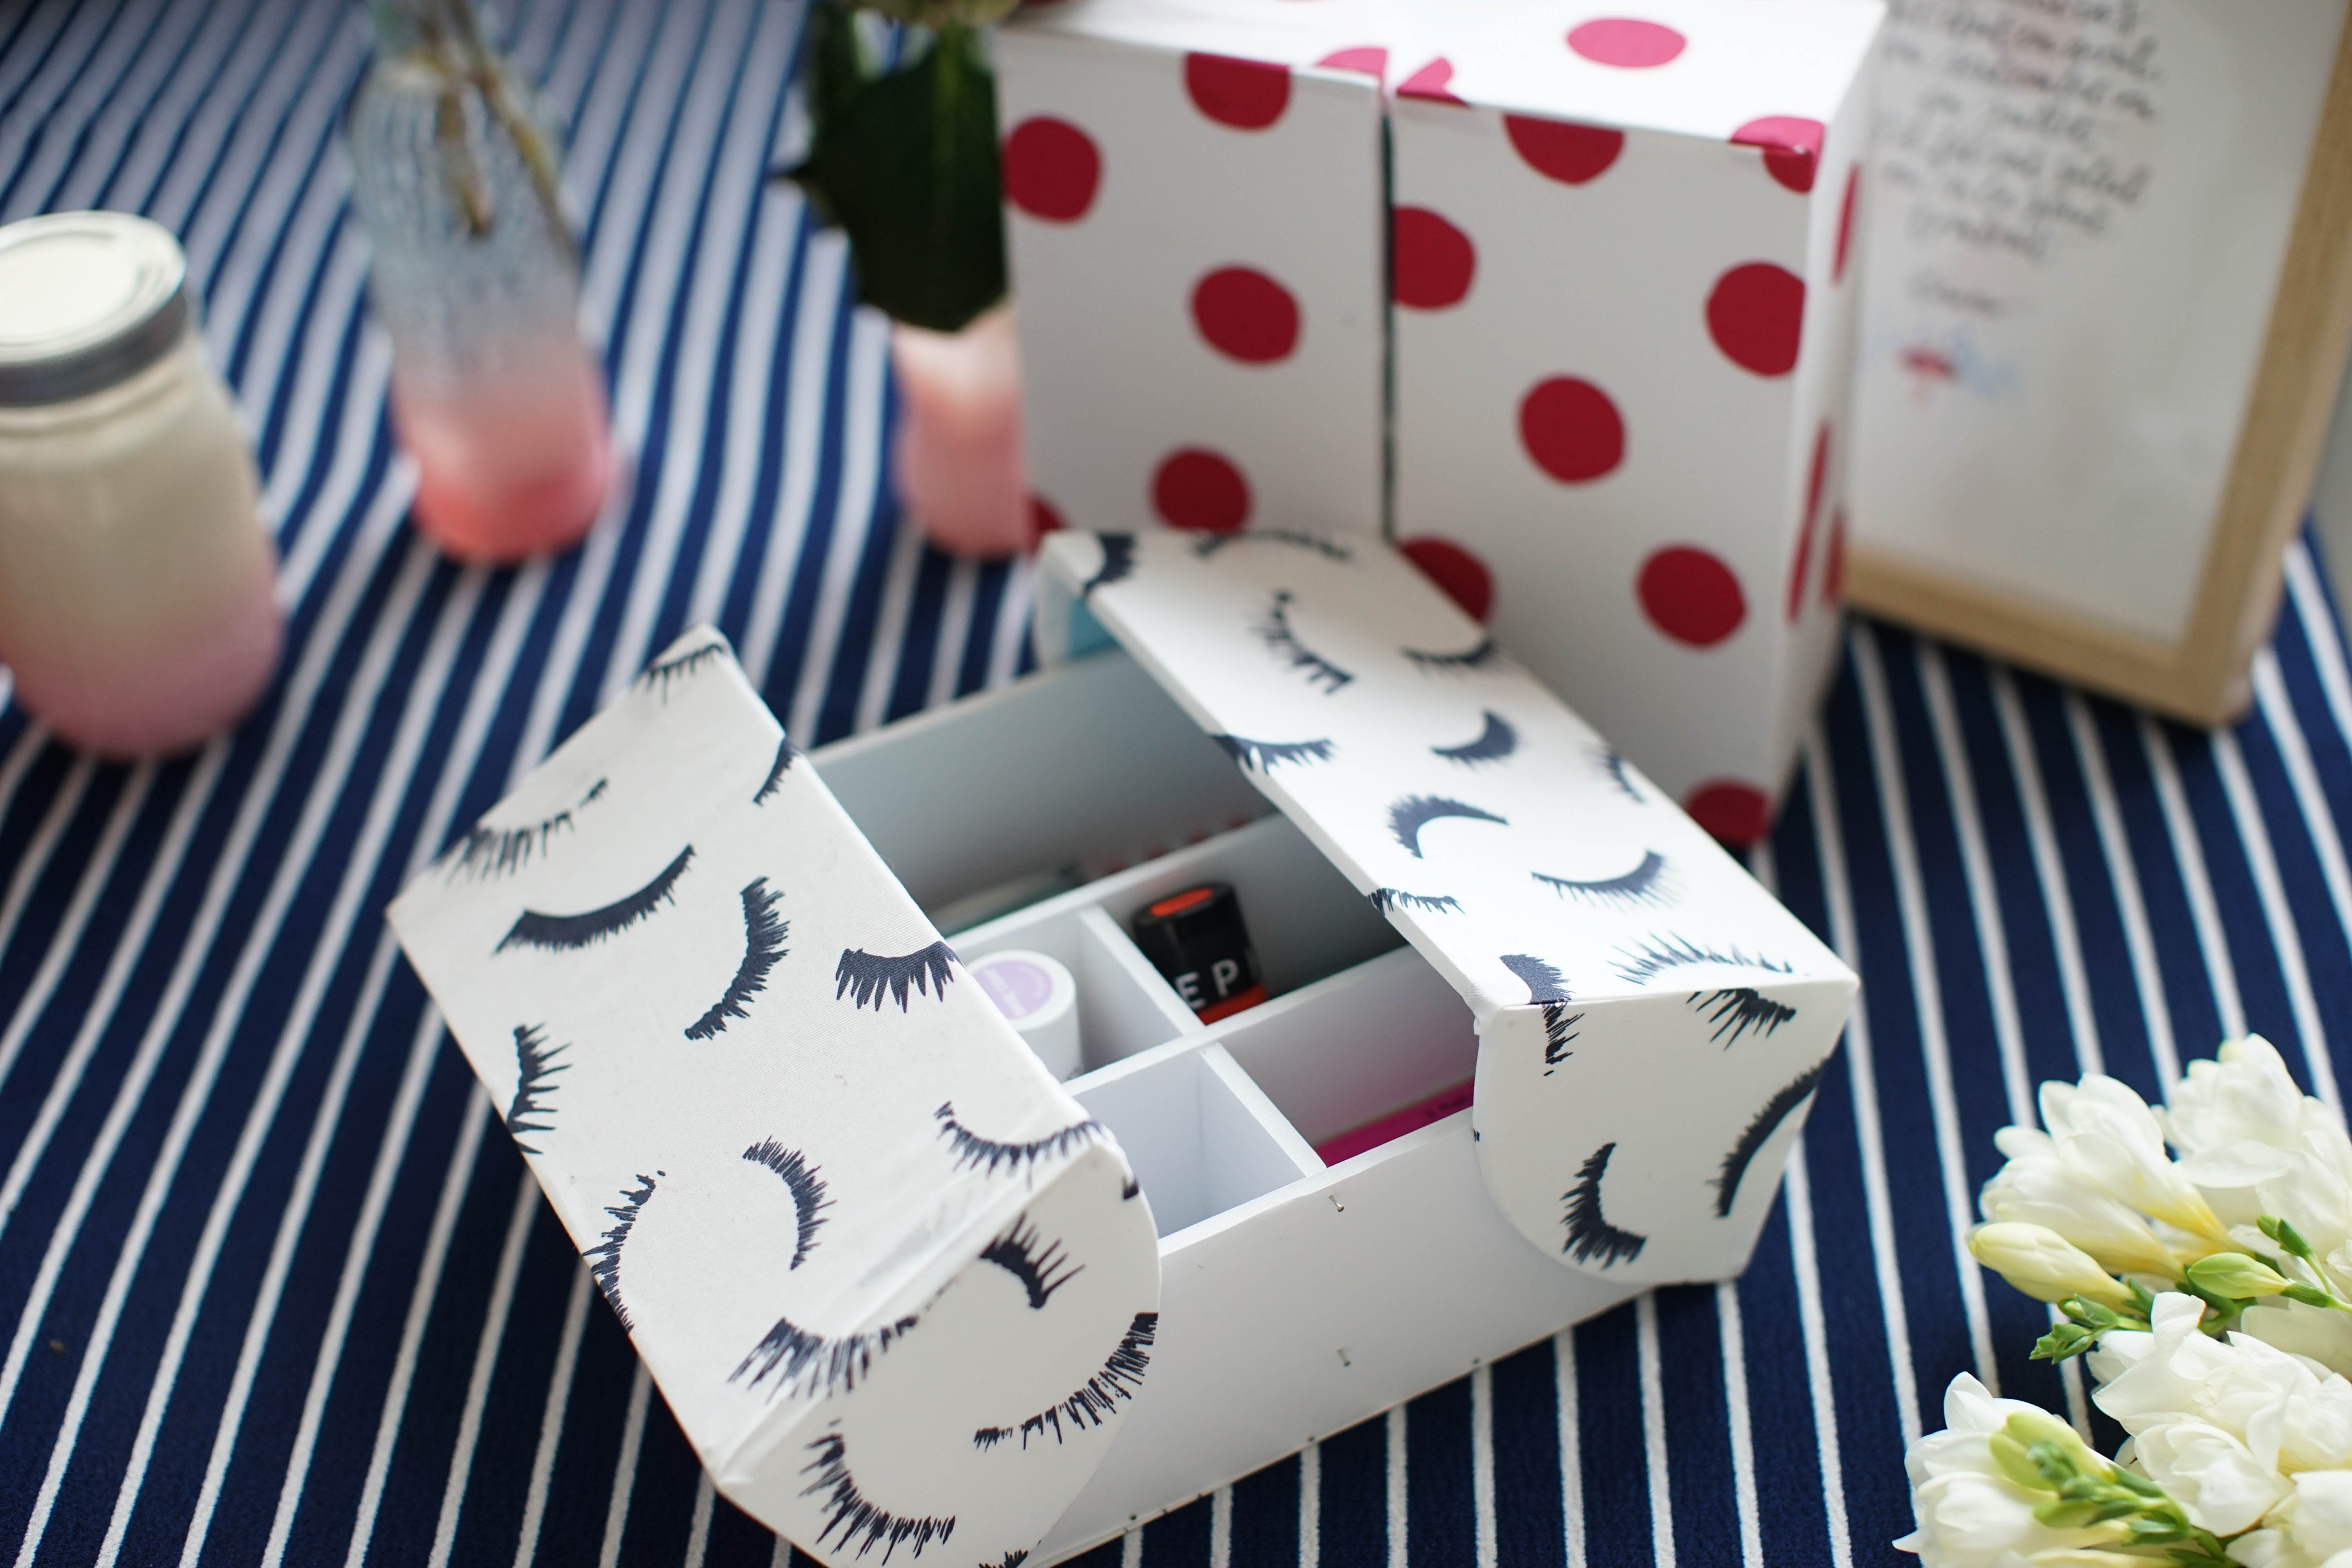
It’s been one week without a single post, what a sin! I won’t lie, things have been crazy. With the new collection’s launch on Sunday and having to prepare content for vacation, we’re overloaded! Here’s a DIY made up today for the Sephora ‘Nail Art’ Workshop. We’ve created it to be super simple for you! It’s a box made out of foamboard and sewing pins that you can store all your manicure tools in. It can even be your toolbox if you change the size, or a jewelry box to make yourself... have fun!
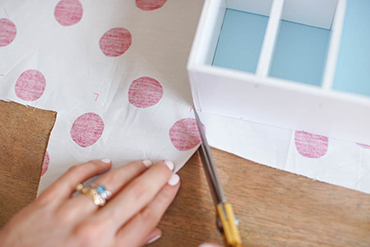
Choose a cute motif to cover your box with, we used one of our prints (of course), but it’s up to you to find whatever combination you like. It’s important to use a fine material that’s easy to work with and that holds up under the heat of an iron.
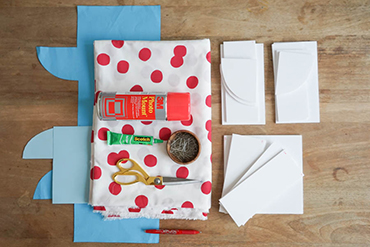
For this DIY, you’ll need:
- Foamboard,
- Patterns to download here and here (the second file must be printed on A3 paper)
- A good scalpel
- Sewing pins
- Spray adhesive
- Erasable pen
- Glue from a green tube
- A pair of scissors
- Fabric, this one here is our poplin dots
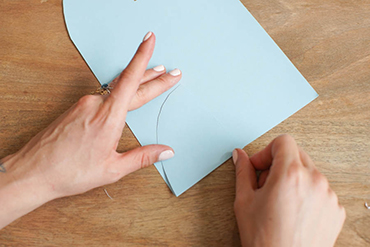
- Colored paper
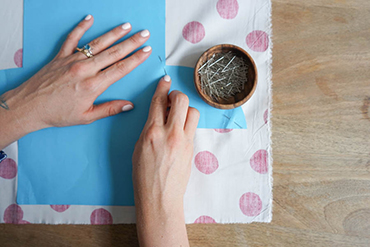
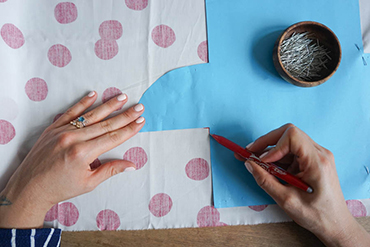
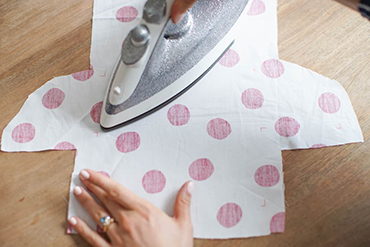
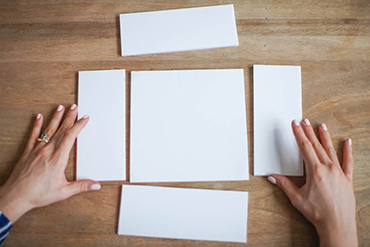
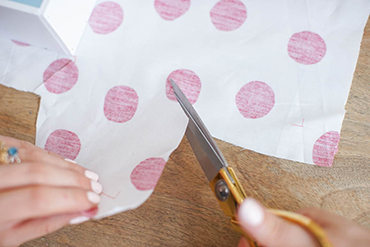
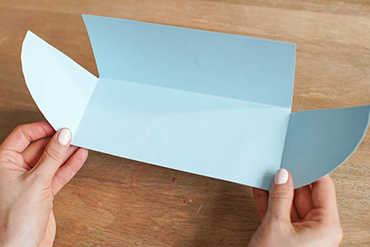
To start, cut out all the pieces of foamboard (be sure that the scalpel blade is perpendicular to the foamboard for a clean cut) and also cut out the paper. Trace the pattern on the fabric using the erasable pen (leave two extra centimeters to make gluing easier).
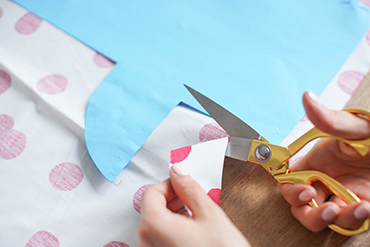
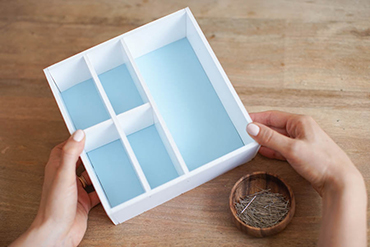
Cut out your fabric and iron it to erase all pen marks (works like magic!) but be careful to keep the pattern’s angle guide marks. Now, let’s start putting together the box’s central compartment, take a look at the schema!
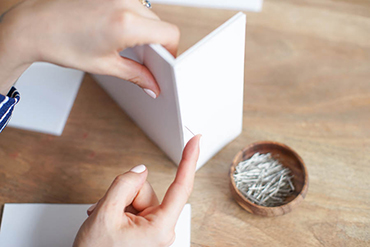
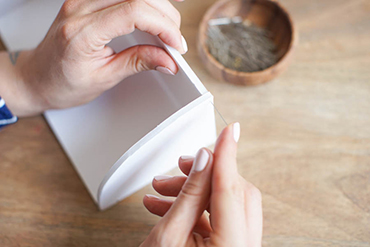
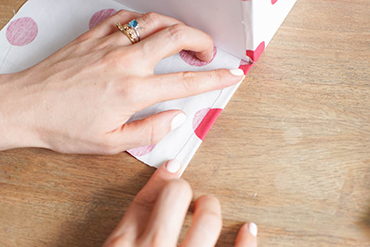
To keep the box together, use the sewing pins that you’ll stick in the edge of the foamboard. Pin one in about every 4cm.
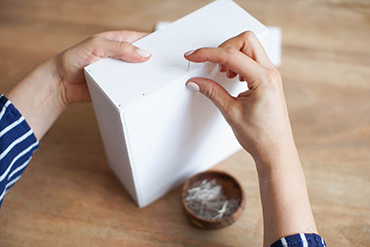
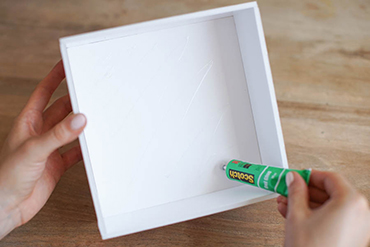
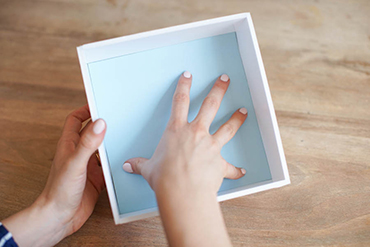
Voila, now you have the center of your box! Dot glue on the back.
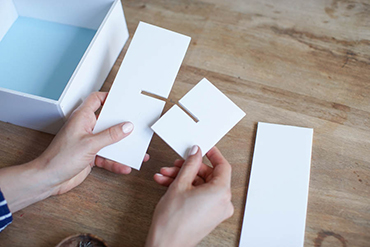
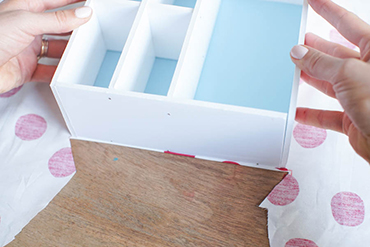
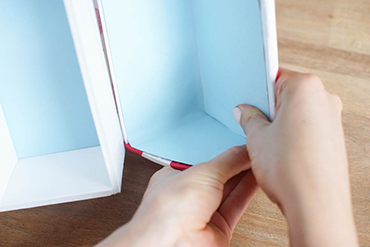
Put your paper square on the back to cover it up. We’re now going to move on to the dividers! Hold the two inner dividers in place with the help of the half slots!
Slide your dividers into the box and put the divider without slots on the side of the two others! Pin in place.
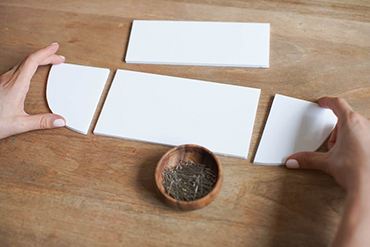
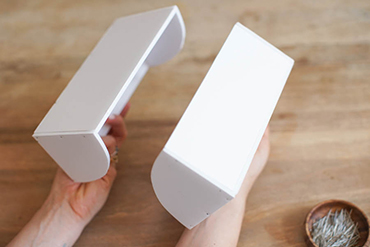
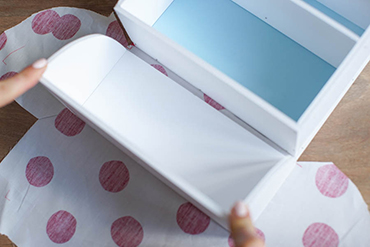
Now your main compartment is ready! Let’s move on to the two little flaps!
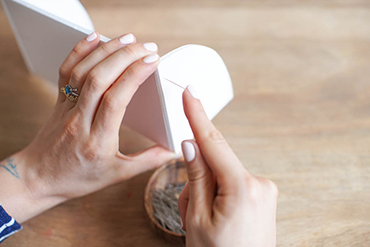
Pin as shown on the schema. The round part should line up with the sides of the two rectangles.
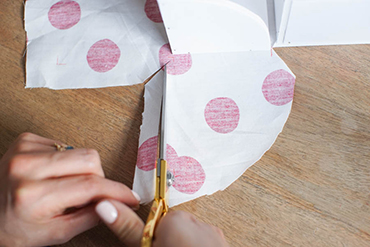
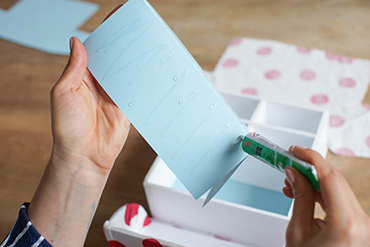
TADA number 1! Now, using scissors, notch all the angles around the rounded parts up to the guide marks.
Once you’ve made all your notches (there should be 8), fold the seam allowance with an iron on the two sides of your box.
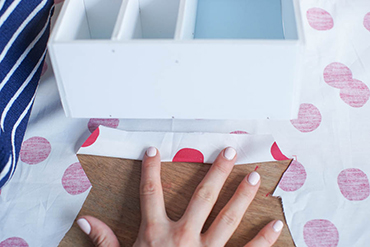
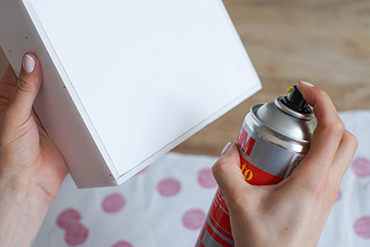
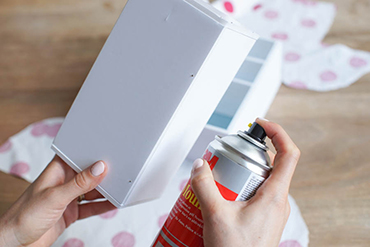
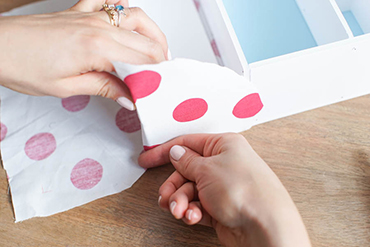
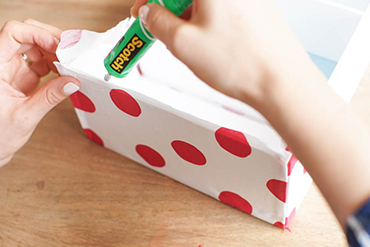
Using the adhesive spray, glue the back of your box to the fabric using the folded seam allowance as a guide.
Glue the shortest part of the flap on the fabric using adhesive spray, you should have about 0,5 cm of fabric between the folds and the central piece of foam board, this way you can easily close your box.
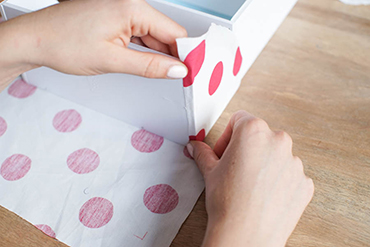
Now, cut off the extra fabric that makes up the two right angles on each side of the fold. Put adhesive spray on the side and glue your fabric, leaving the extra hanging off.
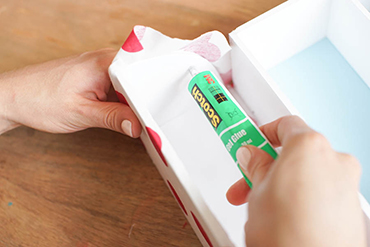
Using the glue in the green tube, paste the little fabric fold! Now cut off the extra fabric covering the rest of the flap leaving a centimeter free. Put glue on this value.
Fold the fabric again on the value to glue in place, do the same on the other side. Lastly, glue the fabric using adhesive spray and finish up by gluing the extra on top with glue in a green bottle.
For the rounded part, put glue on all of it and fold your fabric again, it will naturally fold nicely on the curve! Last step: fold your pieces of paper!
Glue all the sides and put it on the flaps!
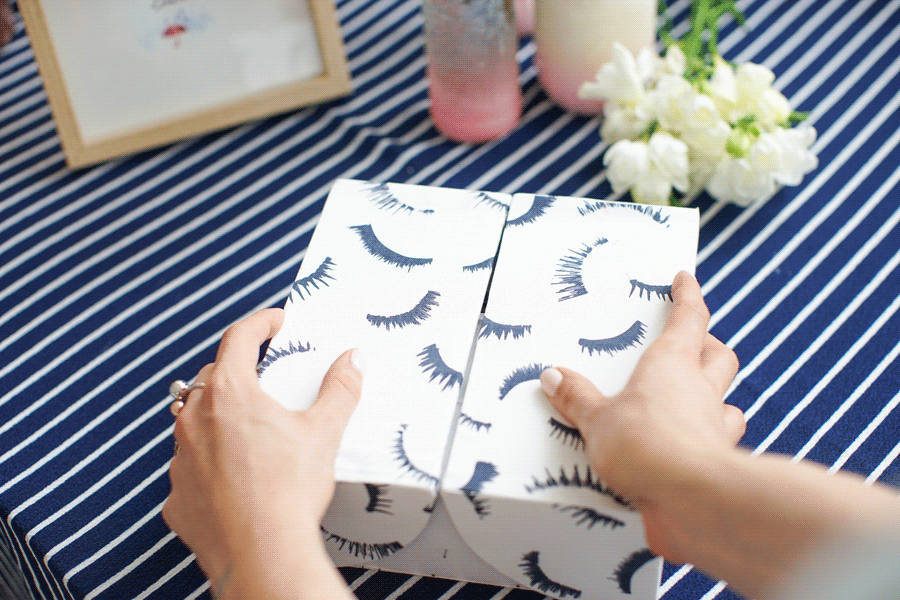
Glue the paper in place. Most important of all, press in the angle to make sure that it’s in the ridge! And TaDa, all you have left to do is fill up your wonderful box!
[:]