DIY THE NEW GENERATION SAILOR BAG
My chestnuts,
I’m playing overtime these pictures are ready for a while but I didn’t have a nano second for myself since I’ve been back in Paris. I’m coming I’m coming slowly but surely, I don’t like to botch things either so I take my time if you’re okay with it... As I was telling you a few days ago: I wanted to surprise you a little more so you’ll have a little bonus tomorrow to close this theme week (two weeks...)!
On monday I saw Fred, my kitten, your national Fred, it’s been forever since we’ve seen each other faces to talk about what was happening into your respective heads... Except the fact that we agree on saying it was boring what was happening above mine and that I needed to freshen up all this, I’m very happy that I saw him and talked about my desires of change on the blog, an editorial line that is slowly moving towards an interaction between amazing and crazy people, all that... (pressure) Try to post every day with still the classical posts but also littles things, inspirations, making of, smiles... In order to feed you you greedy! I can’t wait to show you the new design, I can’t wait for June to be he you have no idea! Okay, I stop!
And today a little DIY for you lovers, brothers or for Father Day that’s coming really soon... A little testosterone with the revised sailor bag... Hugs and kisses !
To make this DIY you’ll need:
- the pattern of the bag that you can download ICI,
- A heat-sealing disc of the same diameter than the base of your bag,
- 1,5 meter of a 2 cm-wide strap,
- 2 rings, 1 snap hook (but 2 are better), a buckle to make the strap slide,
- Pins, a pair of fabric scissors and a fine marker.
- And with some perspective, a press stud and a pair of pliers to put it... (you’ll see)
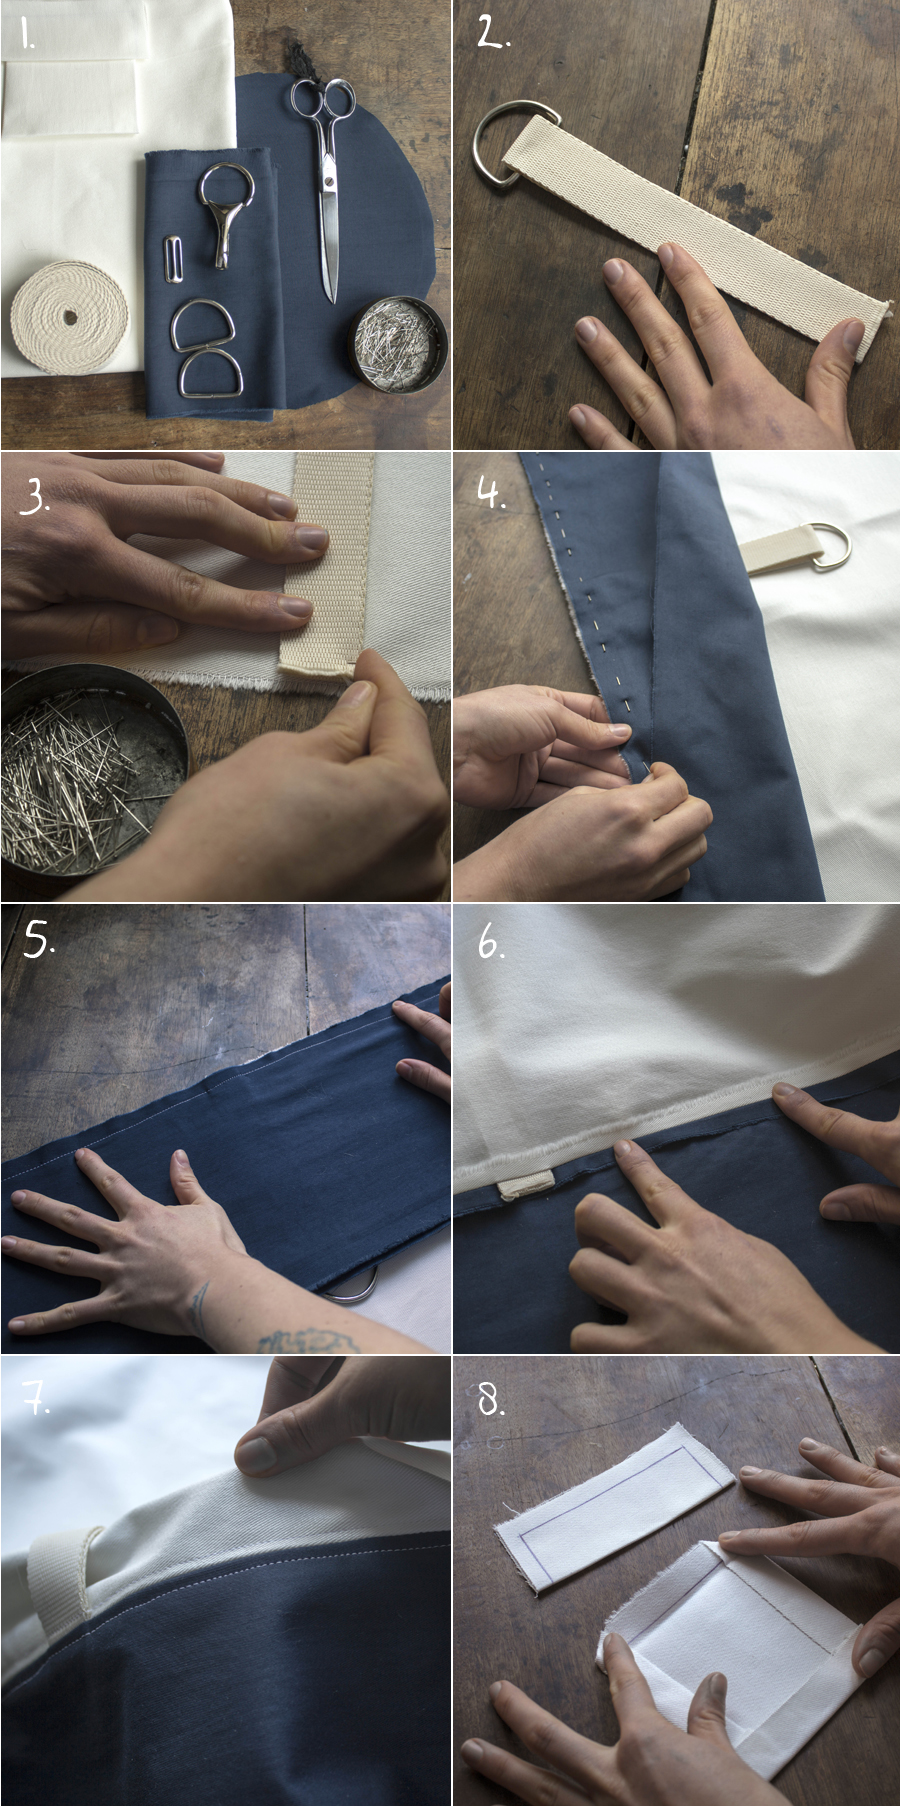
To start with cut into the fabric the different parts of the pattern, so far it’s okay... Take 40 cm of strap and fold it in half in the middle fig. 2. Then sew the strap in the middle of the large strip of fabric, on the front fig. 3. Front against front sew the second strip of fabric that will be the bottom of the bag, fig. 4, so you sandwich the said strap. Sew everything together and don’t hesitate to insist on the strap, fig. 5. Little innovation with the finishing touches, as usual you will «open» your stitches with you iron, fig. 6. Then on the front, you will sew the joint of the two fabric, 0,5 cm from the edge, and the ones of both sides fig. 7, this step is facultative but I think it gives a nice finish touch to the bag, and by the way if any dressmaker is reading and she can tell me the name of this stitch it’d be awesome, thanks! Then get down to the small front pocket. With your iron, preform simple hems on the edge of the pocket, and for the flap you will have to sew the sides first, before sliding everything on the front fig.8.
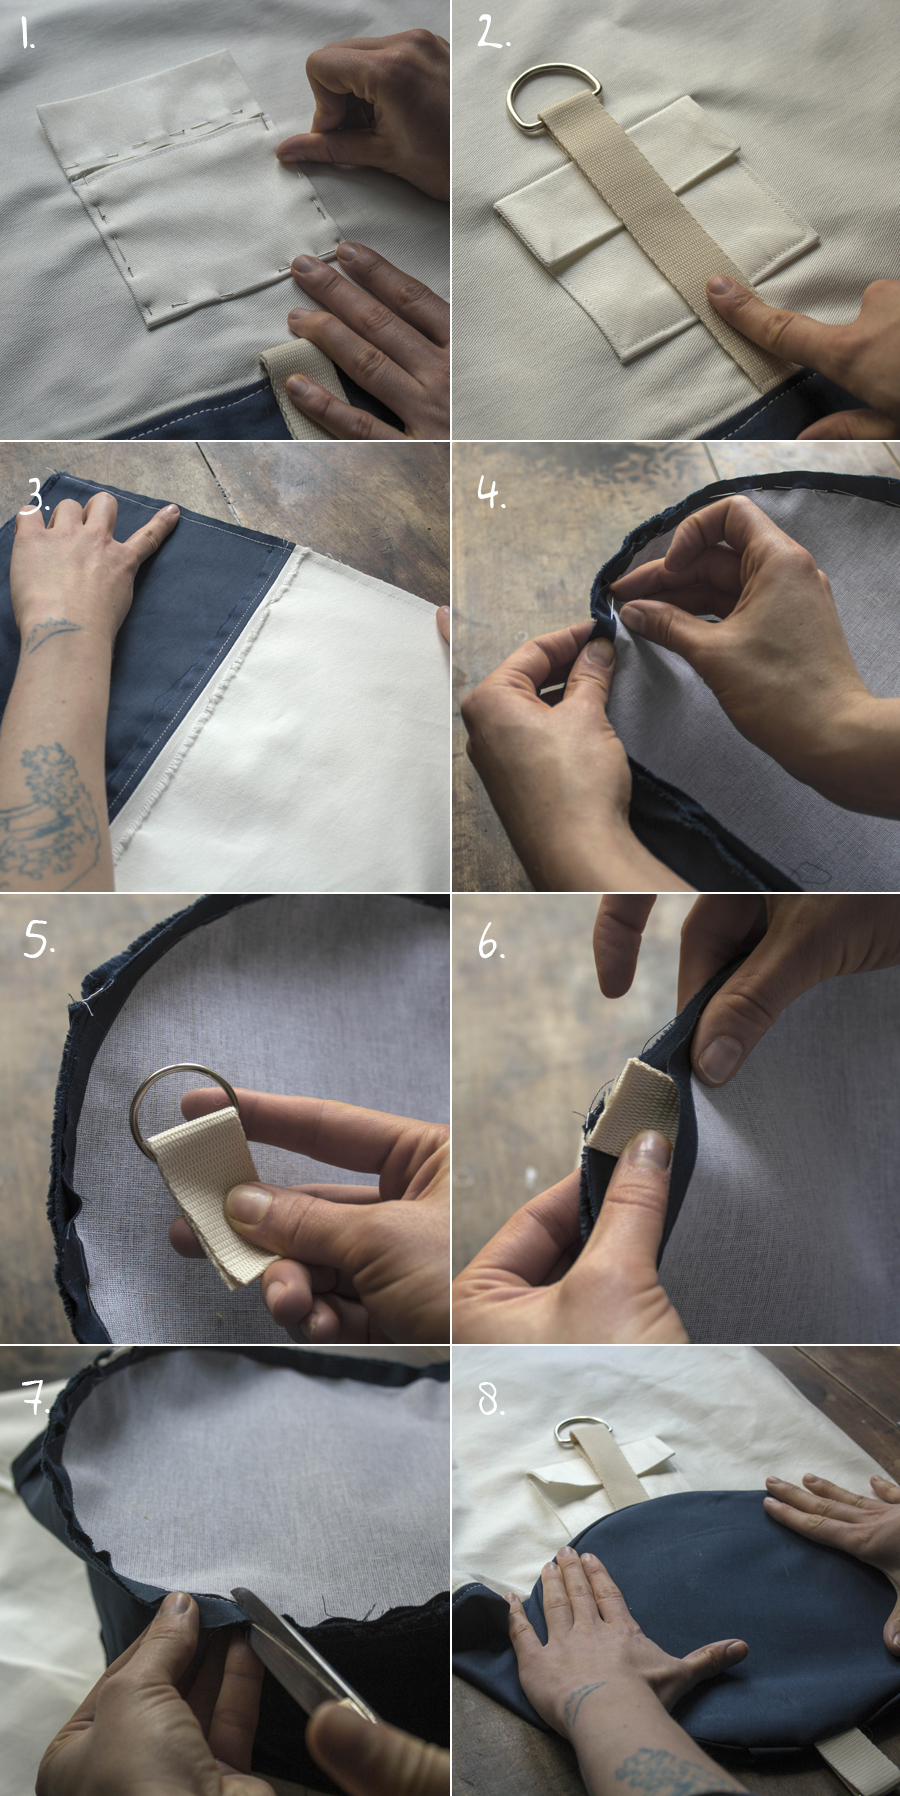
Pin the pocket on the bag then right in the middle, the strap sandwiched in the bottom of the bag must go through the middle of the pocket fig. 2. Then sew your small pocket with your machine fig. 2. So with some perspective, after crash-testing the bag I’d advise you to put a press stud near the ring at the top of the strap, and you’d also have a safer way to close the pocket. I won’t explain how to put a press stud it’s very easy when you have the right tool. But put the female part on the strap (both sides) and the male part right underneath, in the middle, above the pocket on the bag. I talk about it now because it seems easier but I did it at the end when I should clearly have done it sooner... Let’s keep going, then it’s easy you’re going to close this bag by folding the lot in two and by sewing the edge of the two fabrics, to make a tube. One more time, sew it twice and finish with a zig zag stitch fig. 3. Then take the heat-sealing disc and the disc of fabric and with your well-warmed iron assemble them together. If you chose a very thick fabric, this step is facultative, but I wanted this bag to stand. Pin the heat-sealing disc on the base of your bag, if you followed my instructions about the width of your fabric strips there should be no matching problem, fig. 4. Take 10 cm of the strap and, fold it in two and put the second ring on the inside fig. 5. Where there is the seam of the tube of the bag, slide the strap and pin it one more time, this double strap will be sandwiched between the body of the bag and the base fig. 6. Sew the lot with your sewing machine and really insist on where the strap is. Notch all around the base fig. 7 before turning the bag over and ironing it fig. 8.
Pin the pocket on the bag then right in the middle, the strap sandwiched in the bottom of the bag must go through the middle of the pocket fig. 2. Then sew your small pocket with your machine fig. 2. So with some perspective, after crash-testing the bag I’d advise you to put a press stud near the ring at the top of the strap, and you’d also have a safer way to close the pocket. I won’t explain how to put a press stud it’s very easy when you have the right tool. But put the female part on the strap (both sides) and the male part right underneath, in the middle, above the pocket on the bag. I talk about it now because it seems easier but I did it at the end when I should clearly have done it sooner... Let’s keep going, then it’s easy you’re going to close this bag by folding the lot in two and by sewing the edge of the two fabrics, to make a tube. One more time, sew it twice and finish with a zig zag stitch fig. 3. Then take the heat-sealing disc and the disc of fabric and with your well-warmed iron assemble them together. If you chose a very thick fabric, this step is facultative, but I wanted this bag to stand. Pin the heat-sealing disc on the base of your bag, if you followed my instructions about the width of your fabric strips there should be no matching problem, fig. 4. Take 10 cm of the strap and, fold it in two and put the second ring on the inside fig. 5. Where there is the seam of the tube of the bag, slide the strap and pin it one more time, this double strap will be sandwiched between the body of the bag and the base fig. 6. Sew the lot with your sewing machine and really insist on where the strap is. Notch all around the base fig. 7 before turning the bag over and ironing it fig. 8.
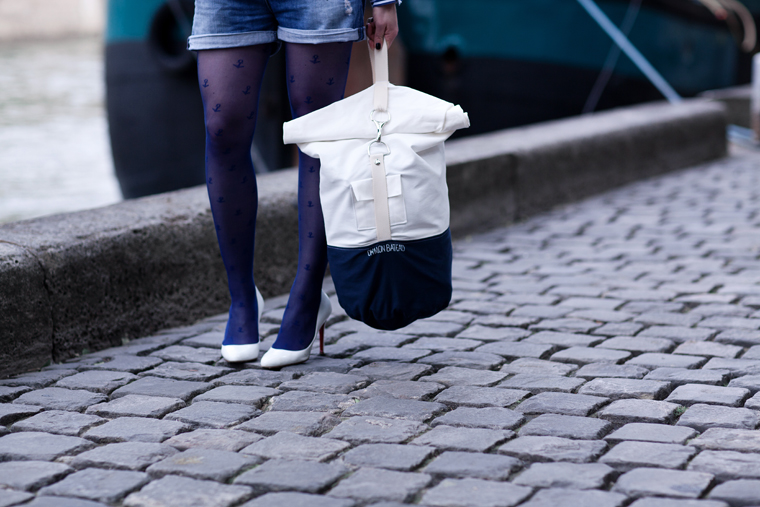
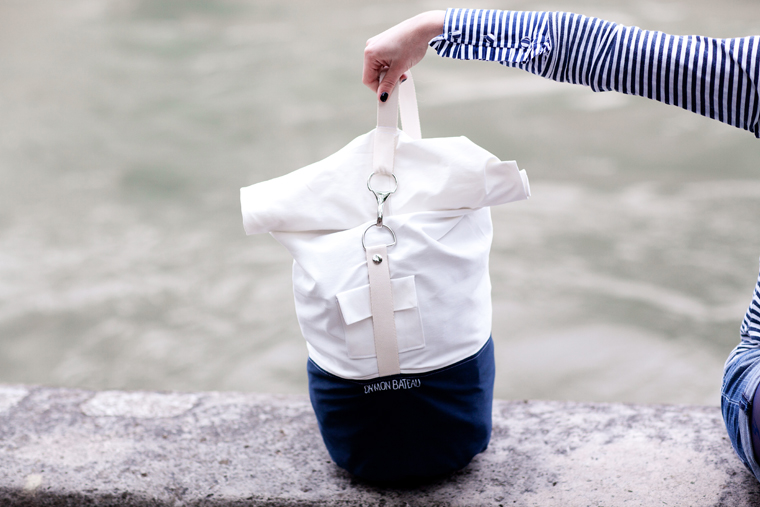
Bonus: with a white fine special fabric marker, you can write a little word «OH MON BATEAU» «SAILOR MOON»... A little something you know ! And of course you probably noticed it already but the pictures are from Pauline Darley... Thank you again for all your sweet words!