


DIY TO THE MOON AND BACK
Happy Monday, folks !
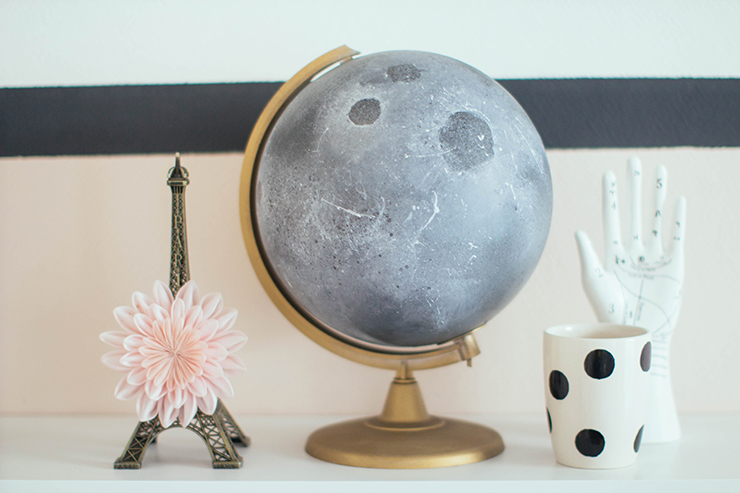
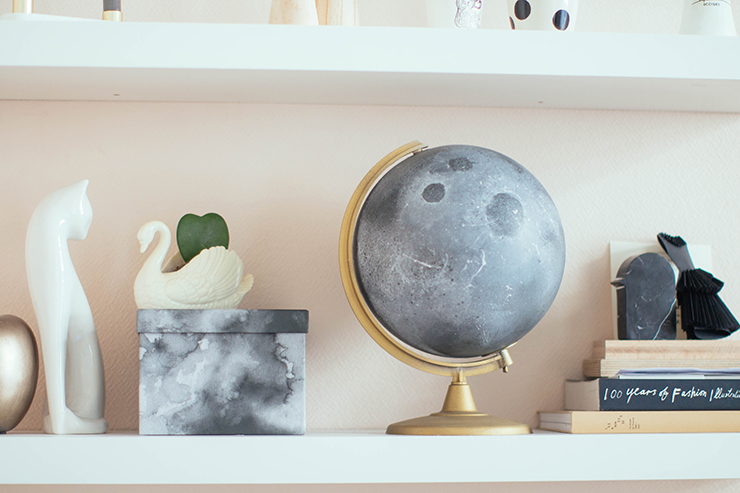
I just wanted to briefly deliver the DIY for the moon… To be completely honest with you, I’m not really sure how all this came about in my life but I’ve got a real obsession for this satellite. What happened was, for my beloved, I registered at « Lisa from the Moon »… I went on and on with Pierrot La Lune at Christmas... I have a giant moon in my living room, which is back in stock by the way at our e-shop ! I dream of having offices on rue de la Lune, I watch every possible documentary, in short, I’m fixated…Then, the other day, I found a random globe of the earth and I decided to try to do something with it…So here is a super easy DIY for customizing your school globes. Send you kisses, I’ll be back very soon with a very special post !
- Time required : 1-2 hours including dry time
- Cost : no more than 15€ (not including the cost of the globe, which you can find in any toy store, antique shop or garage sale)
- Difficulty level : like taking candy from a baby...

For this DIY, you will need:
- - A globe,
- - Spray paint of various shades of gray (2 or 3 shades but not 50, ok !)
- - Gold spray paint,
- - Black acrylic,
- - White paint,
- - A picture of the moon to inspire you,
- - Some paper to protect your surface,
- - A toothbrush,
- - A small paintbrush,
- - A sponge,
- - A small roll of scotch tape.
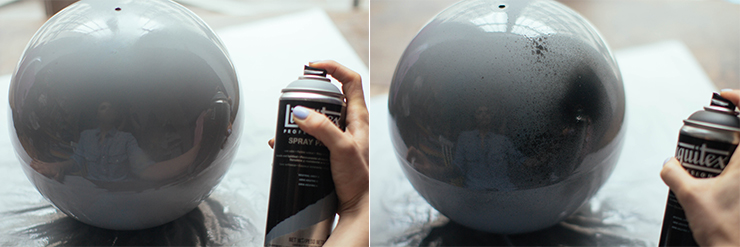
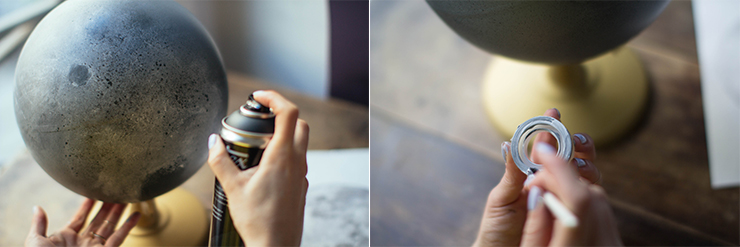
To get started, take your globe off its stand and spray it entirely with light gray. Now take your dark gray and make spots by pressing down gently with the cap of the spray can.

Now spray the globe stand with gold, make it golden ! Then we cut the power wire that turns the globe on because the remains of earth appear super-brightly when it’s turned on and our lamp didn’t work anymore… Now let’s get to the craters, to create them, make short strokes with lighter colored paint while maintaining a circle shape in the center, and drag the paint outwards.
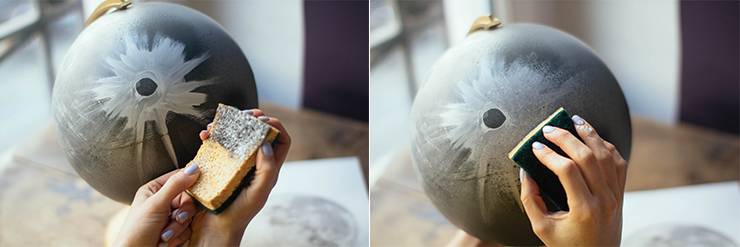
Using your slightly damp sponge, but not too damp, that’s important, pat out your strokes of paint so that they blend into one another to give that lunar aspect. You’ll know that the result is perfect when you no longer see any strokes of paint from when you started.
Now take your dark gray spray paint and press on it slighly to mist the surface of your moon. Second technique for the craters : take a small roll of scotch tape and cover the sticky side with paint…
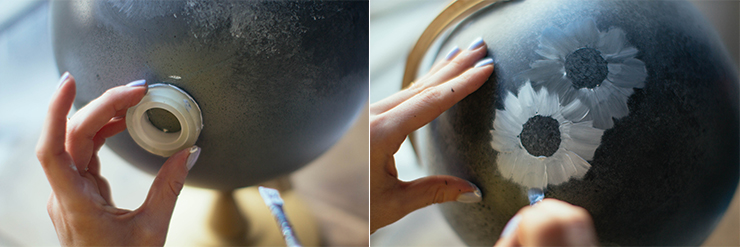
Now use the scotch tape like a stamp to delineate the base of your crater. Continue as before applying strokes of paint around your craters (alternate using the different shades of gray for a more realistic-looking result).

Dab all over with your sponge ! Moving on to the final phase : take your toothbrush, cover it in white paint…
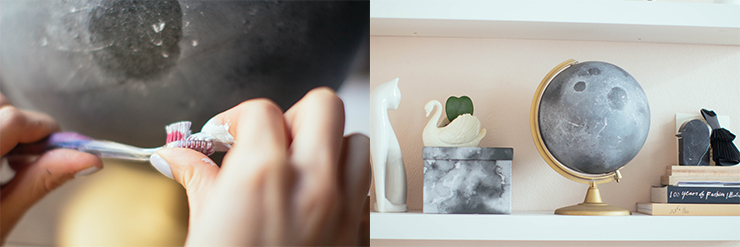
Scrub with your tootbrush to project the paint to the surface (remember ? like we did for the the advent calendar) ! Let it dry, and Ta-Da !!
Translated by Ida Driscoll.
[:]