


DIY TUTU
Good evening my chestnuts
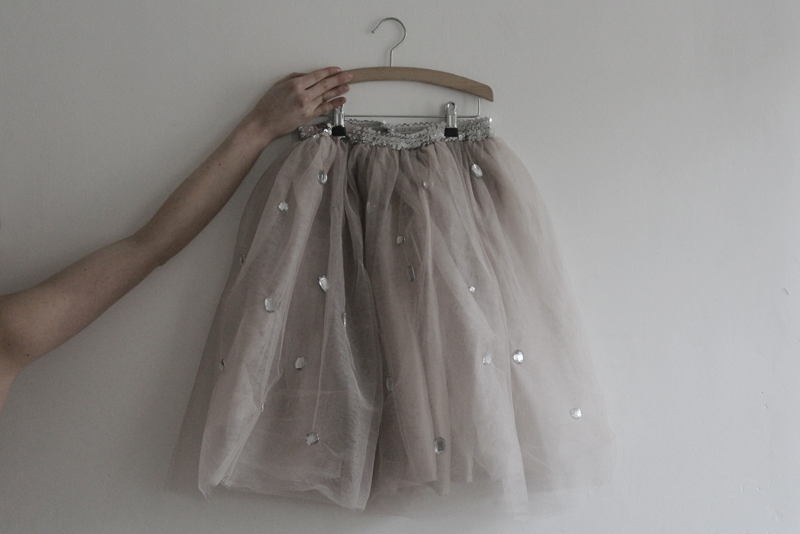
I officially declare the Week of the Tutu open !
I have to say that I came to ask myself «Am I too old to wear a tutu?» because you see it’s not like I’m still 17, and the time where I wore my first tutu with an old pair of Converse sneakers is quite far in the past already... But since I am not 110 years old either (I knooow you know, but I was afraid I could be ridiculous) and I’d have a blast to do it, I decided that everything else simply doesn’t matter. The part of me that tends to follow the standards is sitting of my right shoulder and is sometimes making me doubt a little bit whereas sitting sprawling on my left shoulder is the absolutely insane part of me and it is taking the lead most of the time and telling me stuff like «Look at Carrie (Sarah Jessica Parker) in the opening of Sex and the City, she is half naked with a tutu in the middle of NYC and she is 40! You are just»
And a few weeks ago I stumble upon this tutu on pinterest and I thought «Okay, let’s do it!» and here we are ! And I will even try to rally you to my point by showing you 4 different styles with a tutu, to be continued...
You’ll see that I simplify the steps to a maximum but I cannot reduce them any more to make this tutu, I hope you will enjoy it... And I indulged myself with a white one as well...
To make this tutu in a size MEDIUM you will need:
- - Some lining (a rectangle piece of 160 cm x 60 cm),
- - Some very fine tulle (three rectangle pieces of 250 cm x 60 cm),
- - An elasticized sequin band that you can find in any funky notion store (I used a 59 cm band here),
- - Some strass to sew,
- - A pair of scissors, pins, thread and a needle.
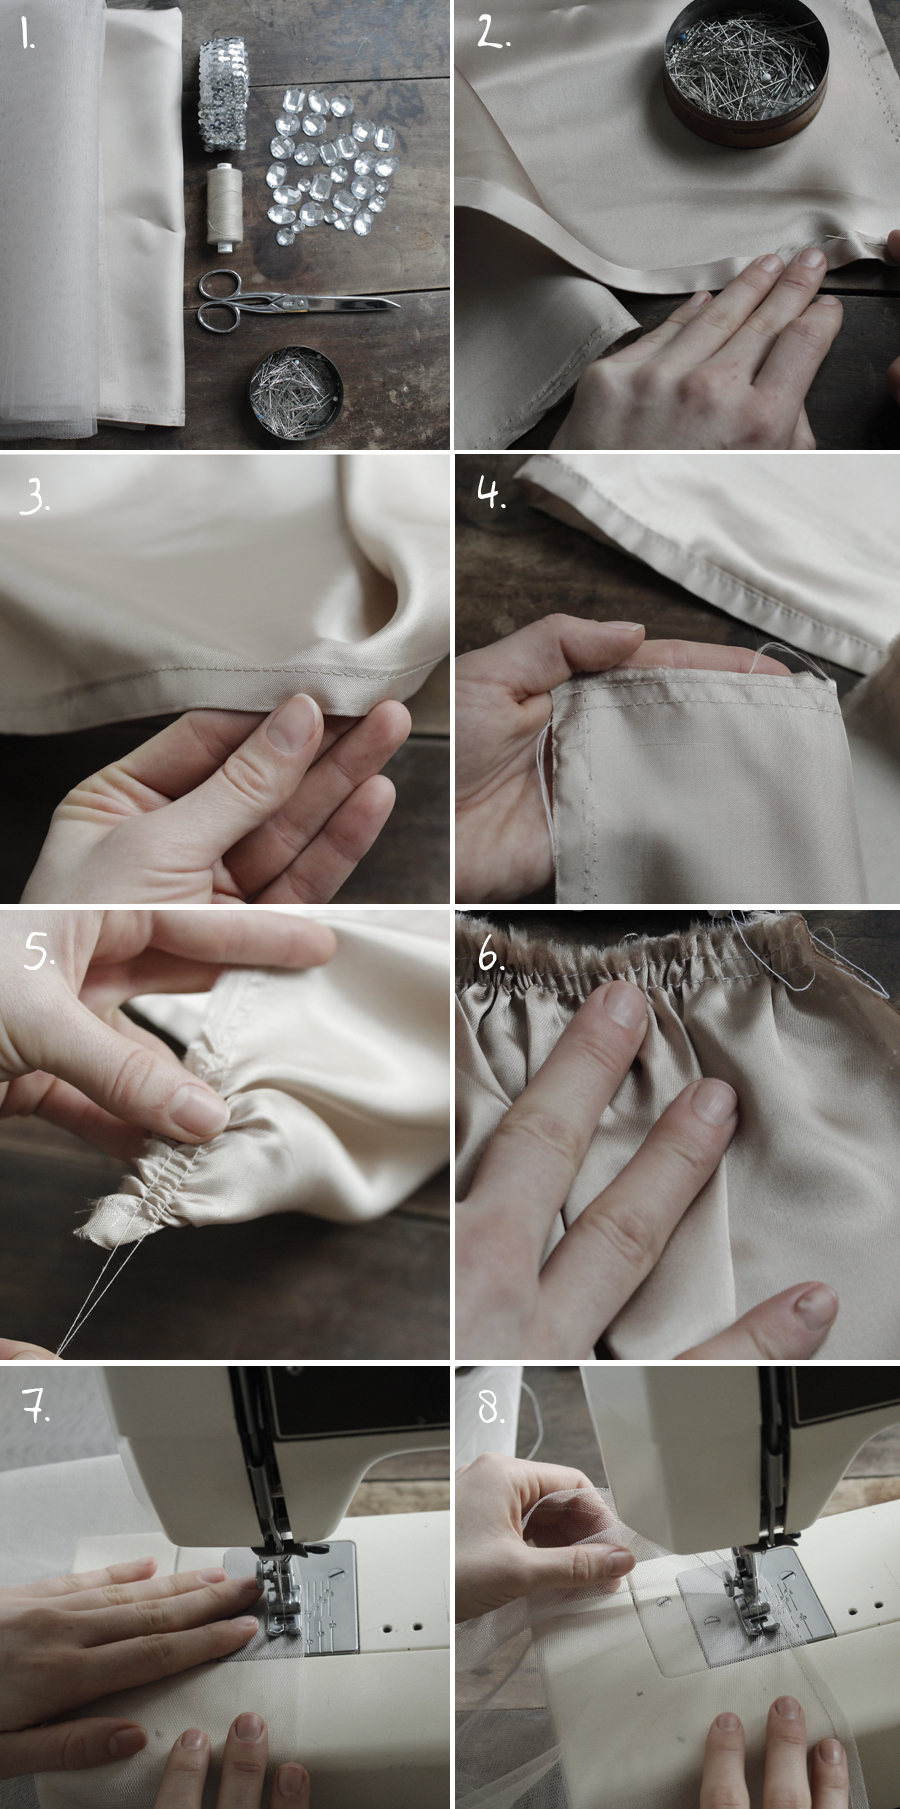
To start with, preform a hem with a flatiron along the lining lengthwise (160 cm) and if you want to refresh your memory on how to do it you can watch this video. Then with the help of the pins, fix the hem fig. 2 and sew it with your sewing machine fig. 3. On the opposite length of the lining, sew two very parallel seams lengthwise - you just did the thread for the pleats fig. 4 ! Too easy I know... Now you will pull the two threads while pushing the fabric in the opposite way, and now you are gathering fig. 5.
Now, I will advise to use a measuring tape to measure your hip size (and yes, it is useful!) - let’s say your hip size is X cm, you have to uniformly spread the pleats along X cm fig. 6. Now grab your tulle and do the same with the three pieces: you don’t have to do the hem but just sew a first seam lengthwise fig. 7 and another very parallel to the first one fig. 8.
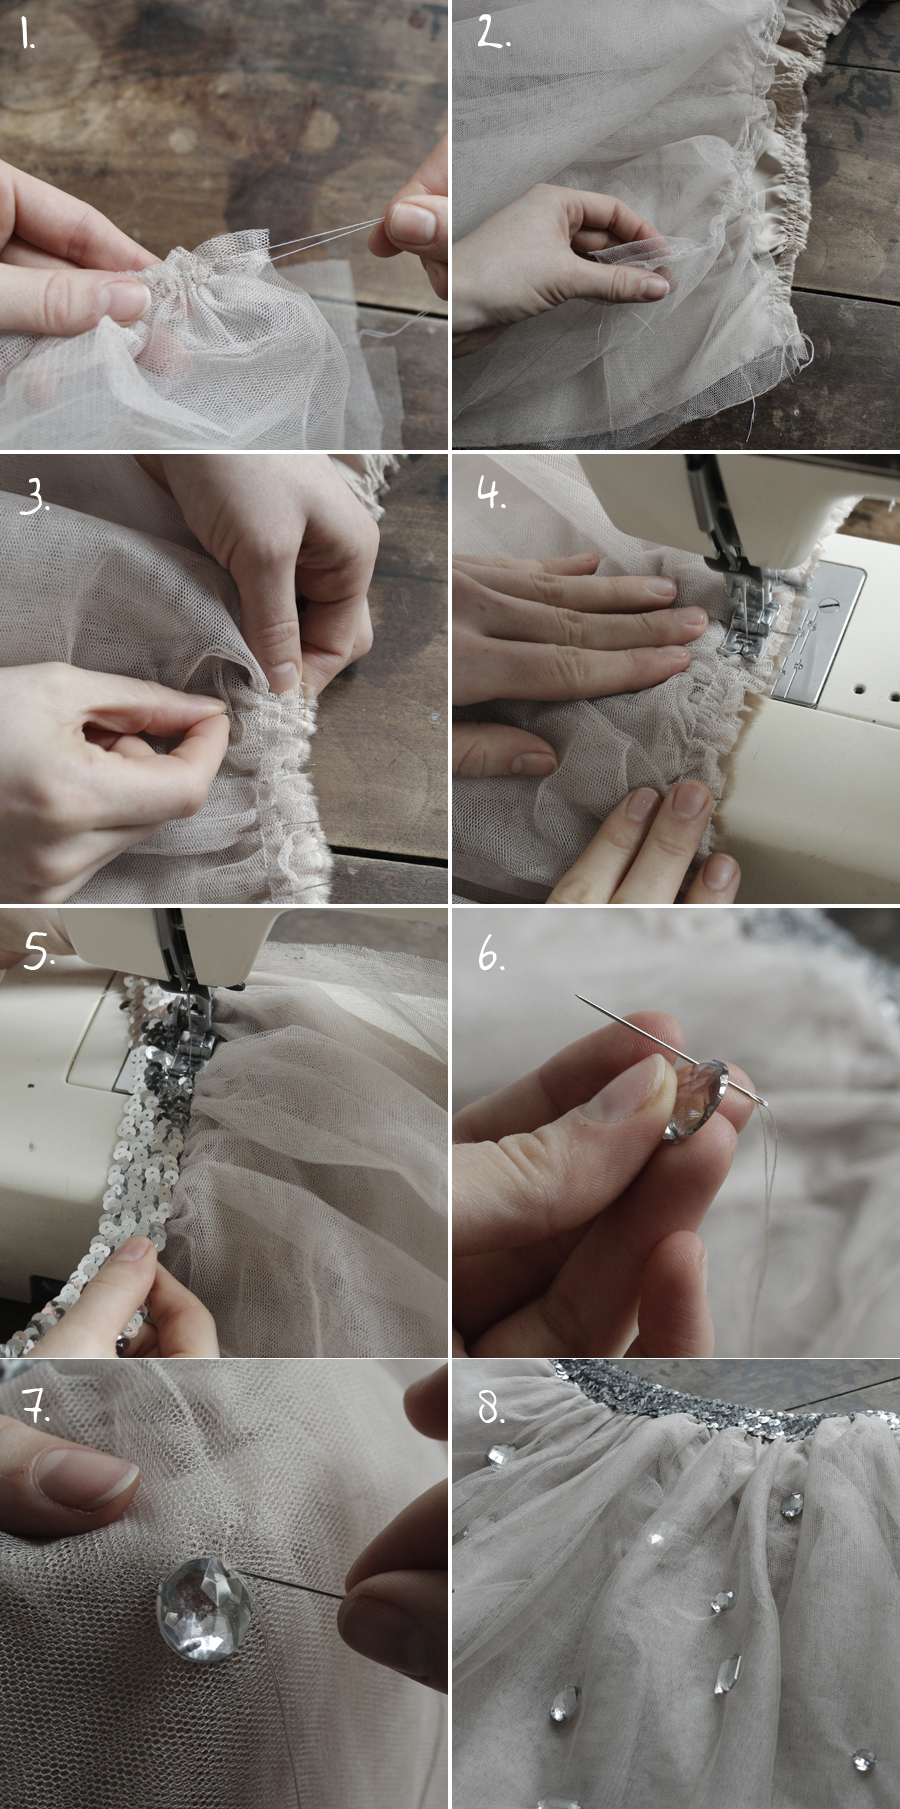
Once you’ve done the two seams very parallel, start gathering all the tulle bands over the X cm of your hip size - you are making the flounces of your tutu... fig. 1 Then set down flatly the lining and the flounces of tulle, all of the same X cm length fig. 2 and with the pins, fix the flounces and the lining together fig. 3 and sew everything with the sewing machine fig. 4. Now, grab you elasticized sequin band - but wait: you’re now asking me how to do with 59 cm of sequin band and X cm of hip size ? It’s easy, you start sewing the band to your tutu and you gently pull the elasticized band for it to be able to go to the X cm of your hip size. Everything will be fine, don’t worry fig. 5.
Finish with the sewing of the end of the tutu on the reverse side, knowing that you have to sew all the flounces and the lining in once. And TA-DA ! You have your own tutu and you may now proceed to its customizing with strass.
Grab the thread matching your tulle color and your needle, and sew a stitch. Then thread the strass in your needle fig. 6 and sew it on the tutu fig. 7. Make a knot and start again with another one... Too easy right ? Take a sit in front of a TV show (like Sex and the City) and patiently embroider your strass! And TA-DA (for real this time !) fig.8.
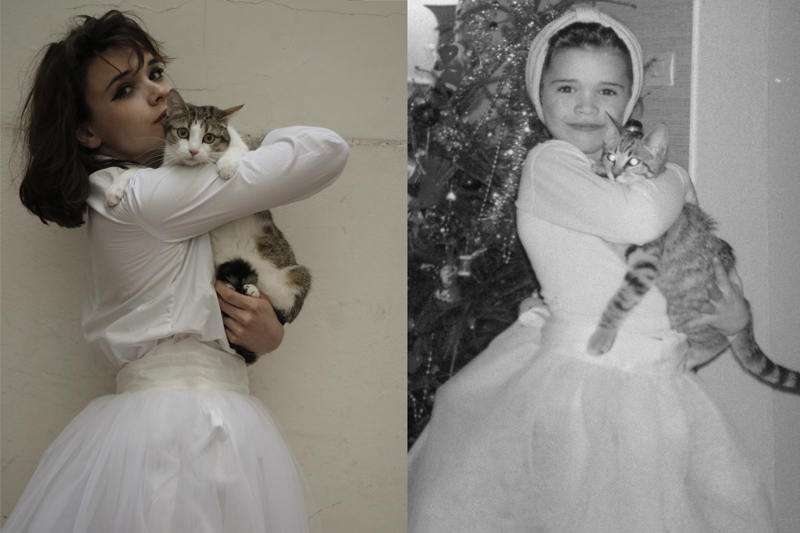
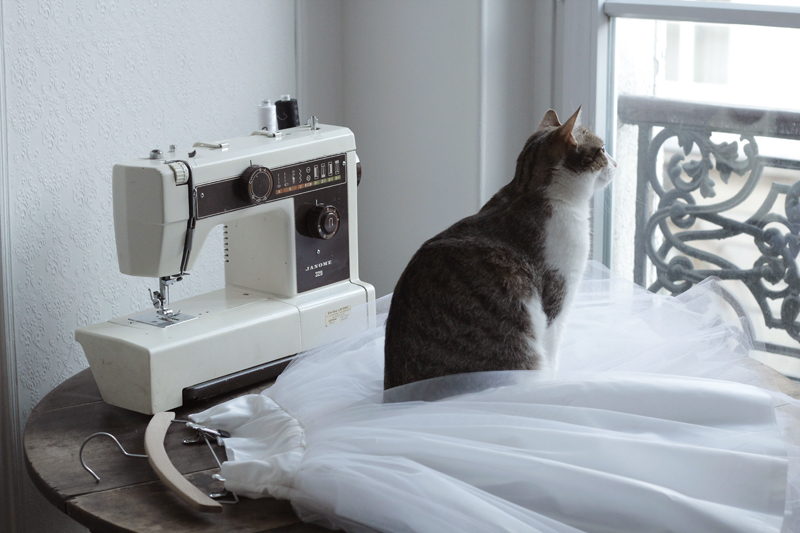
Tutus and cats are kind of the story of my life...
[:]