


LOVE KIMONO DIY[:]

Happy Sunday my little kitties,
I wanted to thank you for your words and comments on the previous post, I always love reading you! Thank you! Today, I am going to show you a DIY I really like. During the wedding preparation, my friends told me to stay organized and to anticipate every detail of the D-Day. As I am a control freak, I like this type of advice. I knew that during these two wedding days, things will happen and I will not be able to control everything so I tried to take care of the esthetic details as much as I could.

I knew we would take “preparation” pictures and I did not want to wear my old bathrobe that is not that white anymore so I thought this kimono DIY would be a great idea. I talked to Laure about it, the queen of the patterns, and we imagined an easy pattern so that you can create your own kimono for the D-Day. This one is made in lace and satin cotton but you can also do it in different colors for everyday life.

For this DIY, you need:
- - to download the pattern here (for free), print it and cut it.
- - 2.5m of fabric: if you use lace, I advise you to take a “stronger” fabric for the neckline, cuffs, belt and pockets.
- - a sewing machine
- - pins and love
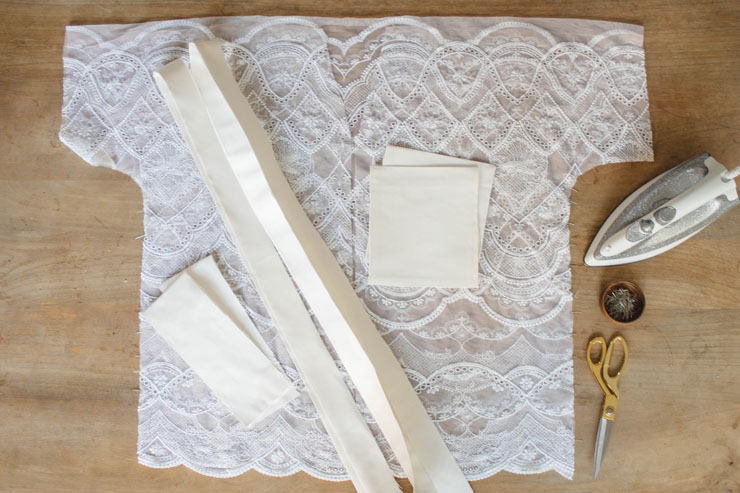
Cut the different pieces following the pattern. If your fabric is not large enough, do not hesitate to do the belt and the neckline in two different parts. Same for the “body” of the kimono, you can cut it in two parts: two for the front and one for the back. However, do not forget to add the seam allowance on the top line (shoulders and sleeves) and to put these pieces together first! More explanations here.
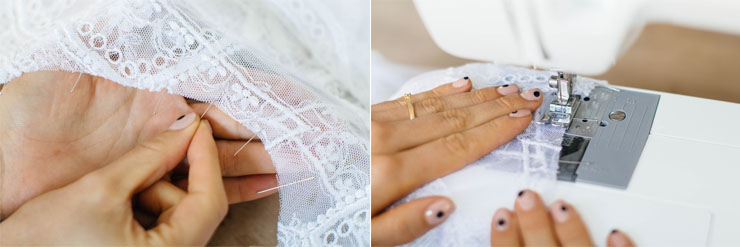
Fold the kimono in two following the shoulders and sleeves line so that the front and the back parts can be on both reverse sides because exceptionally we are going to do a backstitch seam! Pin bellow the armholes (the curved part) and sew at 0.5cm.
Once the seam done, fold again on the right sides and pin to hide the previous seam.
Sew at 1cm. Here we are! Your first backstitch seam is done! You can also hem the bottom of the kimono (1cm twice).

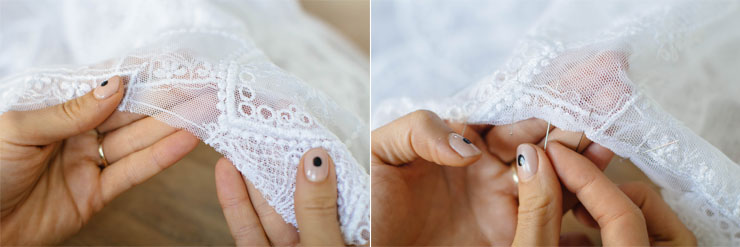
For the cuffs, right sides together, pin the two smaller sides and sew at 1cm. Then, iron opening the seam.
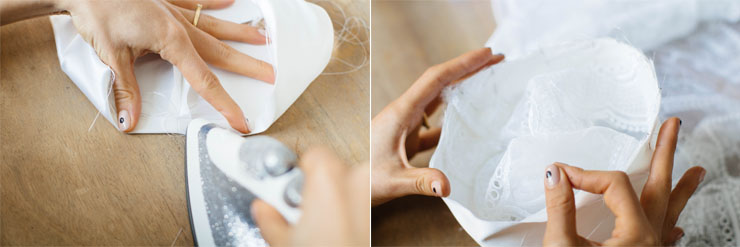
All around the cuff, only on one side, fold and iron the seam allowance (1cm). Then, take the other side, pin it right sides together with the bottom sleeve of the kimono.
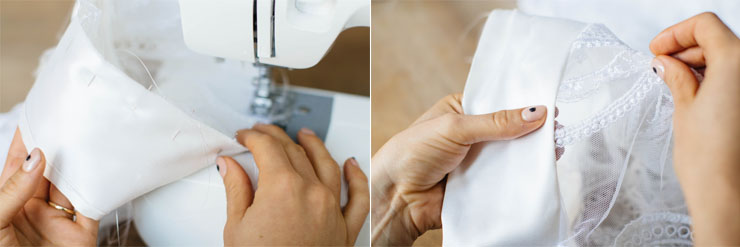
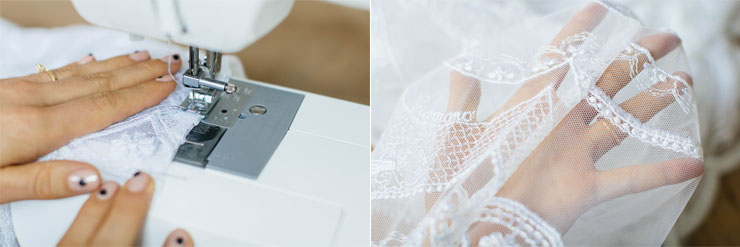
Sew at 1cm all around. Fold the cuff in two, and pin it hiding the freeboard you just sewed inside the two cuff fabric parts.

Pin to maintain everything together and then sew (using a sewing machine) from 0.5cm of the cuff interior edge. The finishing touches will be perfect!

Iron a lot to make everything flat. Do the same with the other cuff and then start the neckline. Sew at 1cm, right sides together, the neckline and the edges, and then fold the bottom of the neckline so that it fits with the bottom of the kimono. Fold the seam allowance with an iron on the other big side, same as for the cuffs.
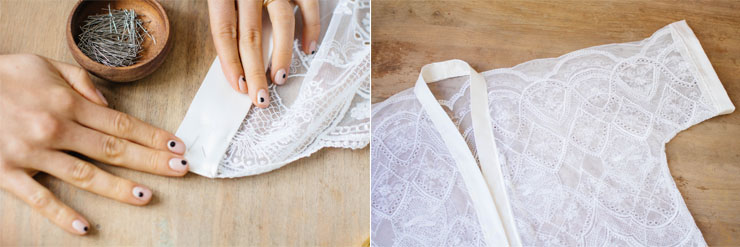
Fold the neckline in two and fix it with pins. Then, sew at 0.5cm all around.
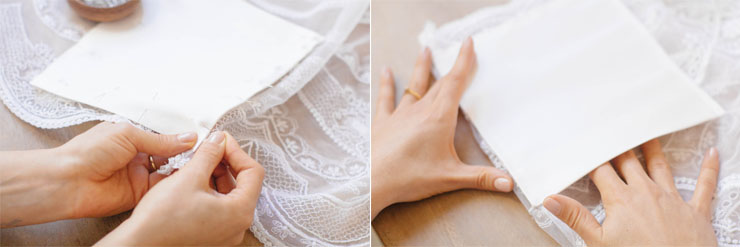
For the pockets, fold the seam allowances with an iron. On the top of the pocket, fold 1cm and then 4cm inward. Maintain the pleat with a seam. Place the pocket on the front side of the kimono and pin it. Sew the three edges at 0.5cm.
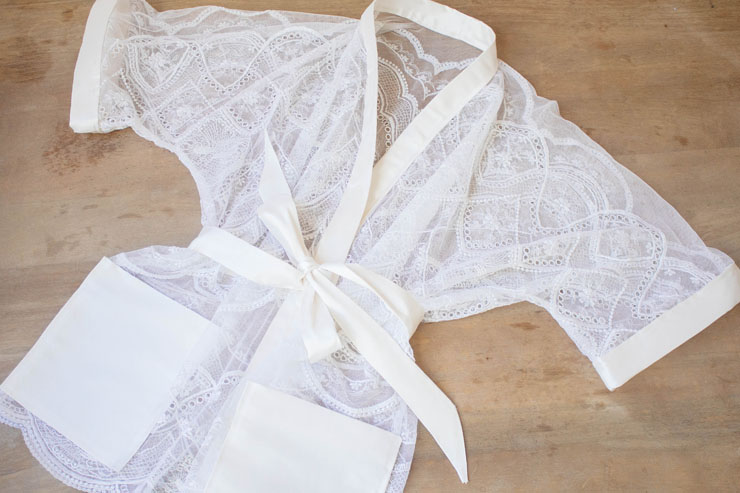
Do not forget the belt! Here we are!

Martin from Say Cheers took the pictures at the Bachaumont Hotel that we chose for our two wedding nights!
Translated by Coralie Clair
Pour lire ce post en français, cliquez ici !